
Harcuvar Peak 4,618′
Total Time: 3:30
Distance: 6.0
Elevation Gain: 2,900′
Crux: Class 3
Trailhead: Dirt road off Powerline Rd, no services


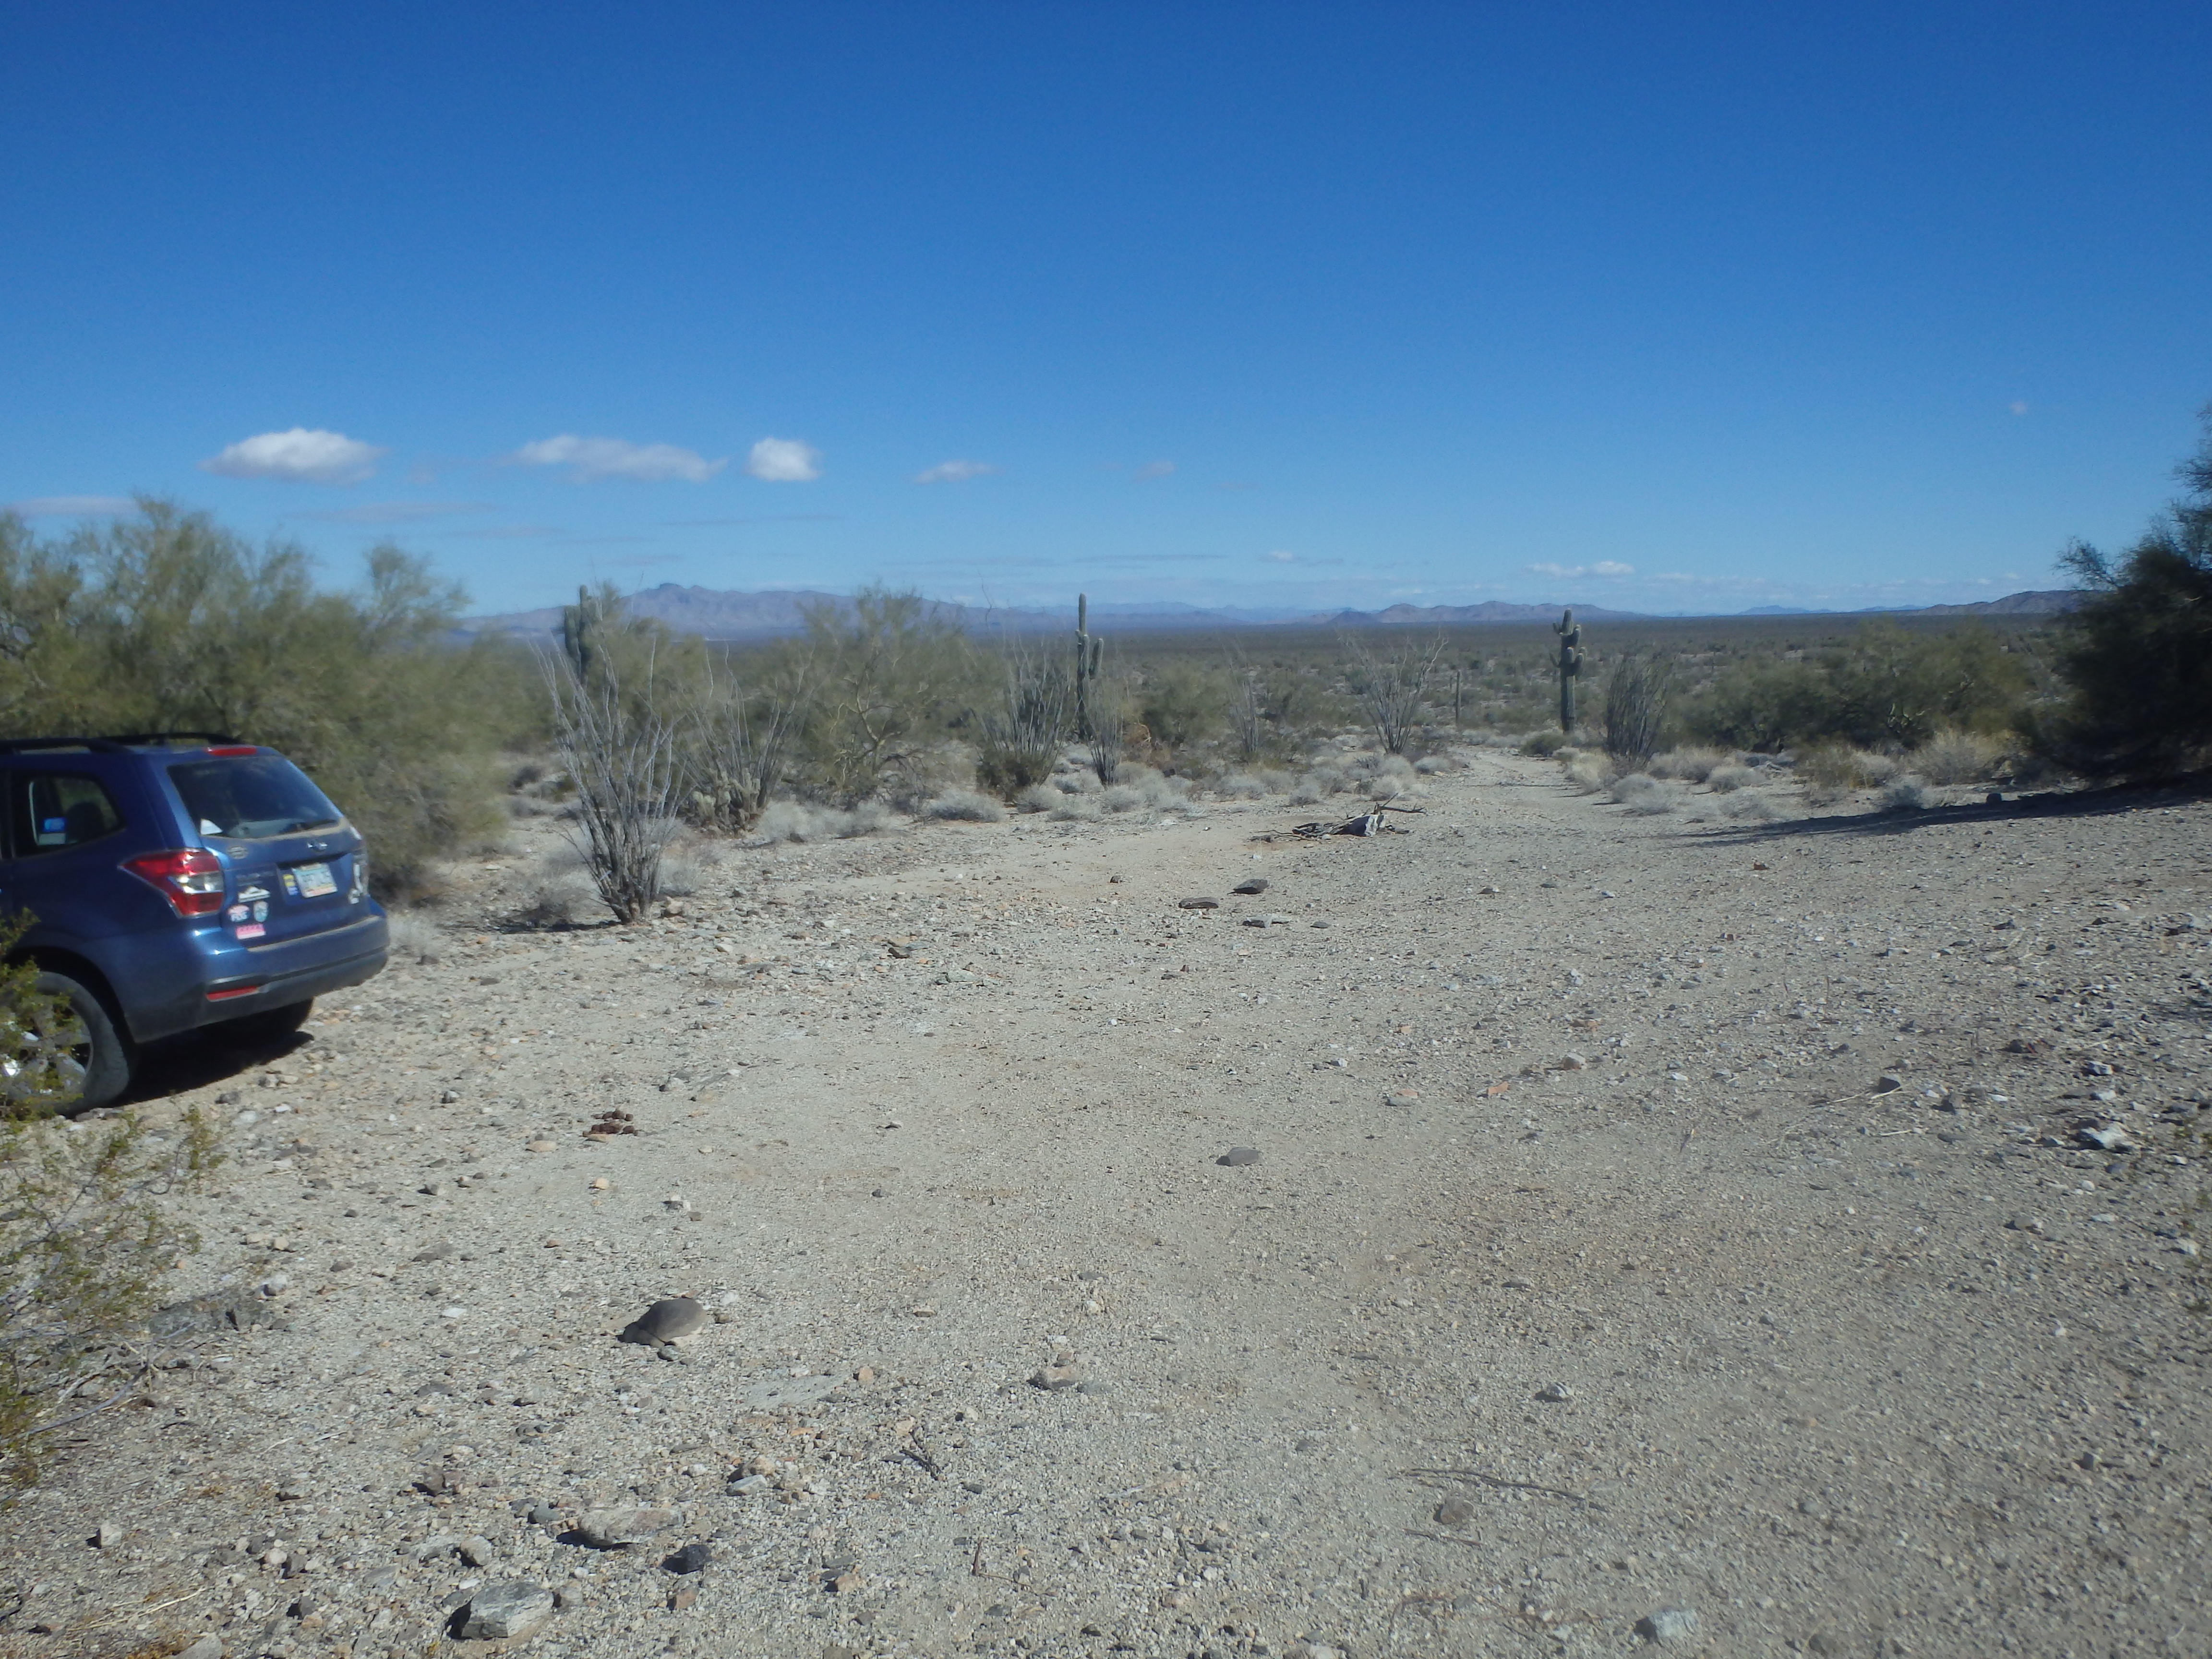
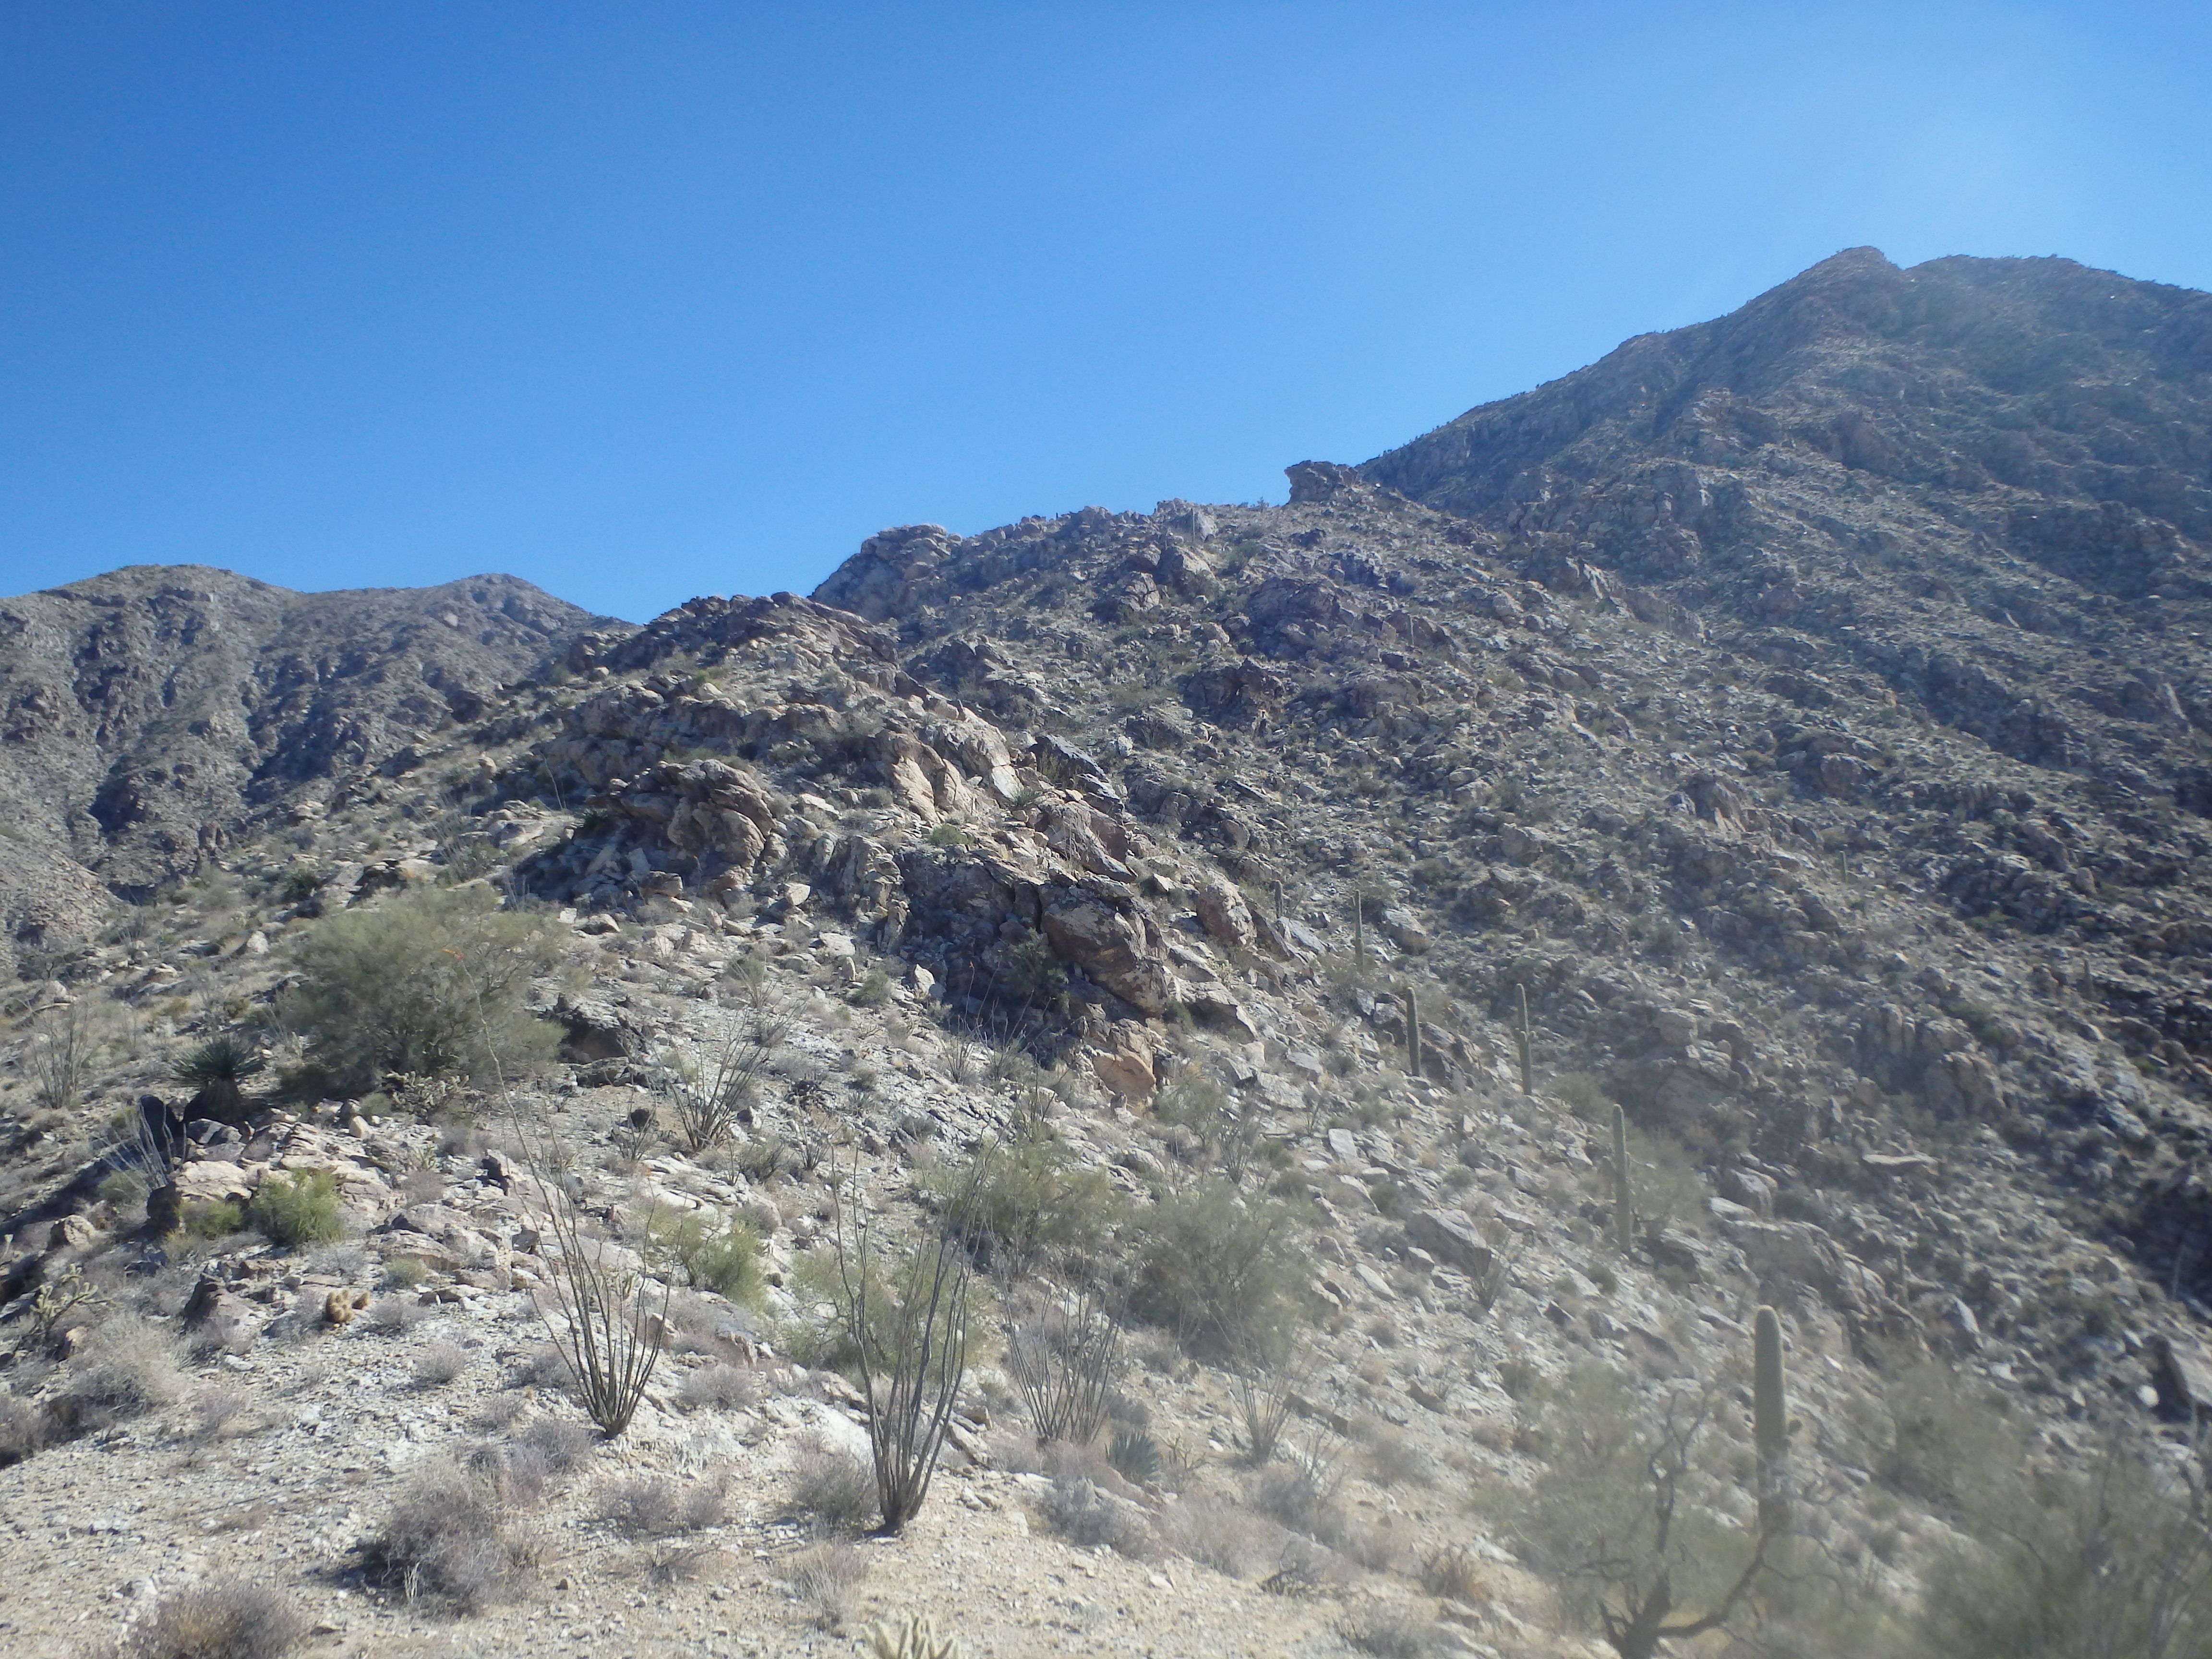
A few months ago, I made an attempt on the south side of Harcuvar Peak, but was denied access after finding the access roads blocked. After wasting some time trying to find an alternate route to the base, I gave up and drove west to climb the far easier and less interesting fire road to the top of Smith Peak (the bonus summit scramble up Bullard Peak at the base was the saving grace). After some Google satellite recon, it looked like there were a series of good dirt roads to the north of the range that might provide better access to the peak with far less driving, only about 5 miles in total assuming they were passable. So with a post-call Sunday somewhat free after an acceptable night’s sleep at the hospital, I drove west from Phoenix along Route 60 for an attempt on the Northeast Ridgeline. I made the turnoff towards Alamo Lake State Park as I had on my last attempt, and continued past the farming roads that had stymied me on my first outing. Just as I crossed over a pass through the Harcuvar Range to the north side, I made a left onto the signed ‘Powerline Road’. A sign at the start of the road indicated that it was primitive and not maintained, but the road was initially in excellent shape, probably passable by most passenger vehicles. I continued on this for a few miles before passing an old ranch with metal water tanks and a fenced in pasture. Just past this was a dirt road that hooked south and I turned left. Here the road became a bit rougher but still only high clearance was needed, AWD not entirely necessary. Driving another mile brought me to the base of a secondary ridge spilling off the mountain, and I turned right onto an even more primitive road for another 50 yards before parking at a small campsite. First hurtle passed. Looking across the deep canyon to Harcuvar’s NE ridge, it looked very doable, although there looked to be some interesting and steep rock formations along the ridgeline which at worst would be passable by some loose traverses around.
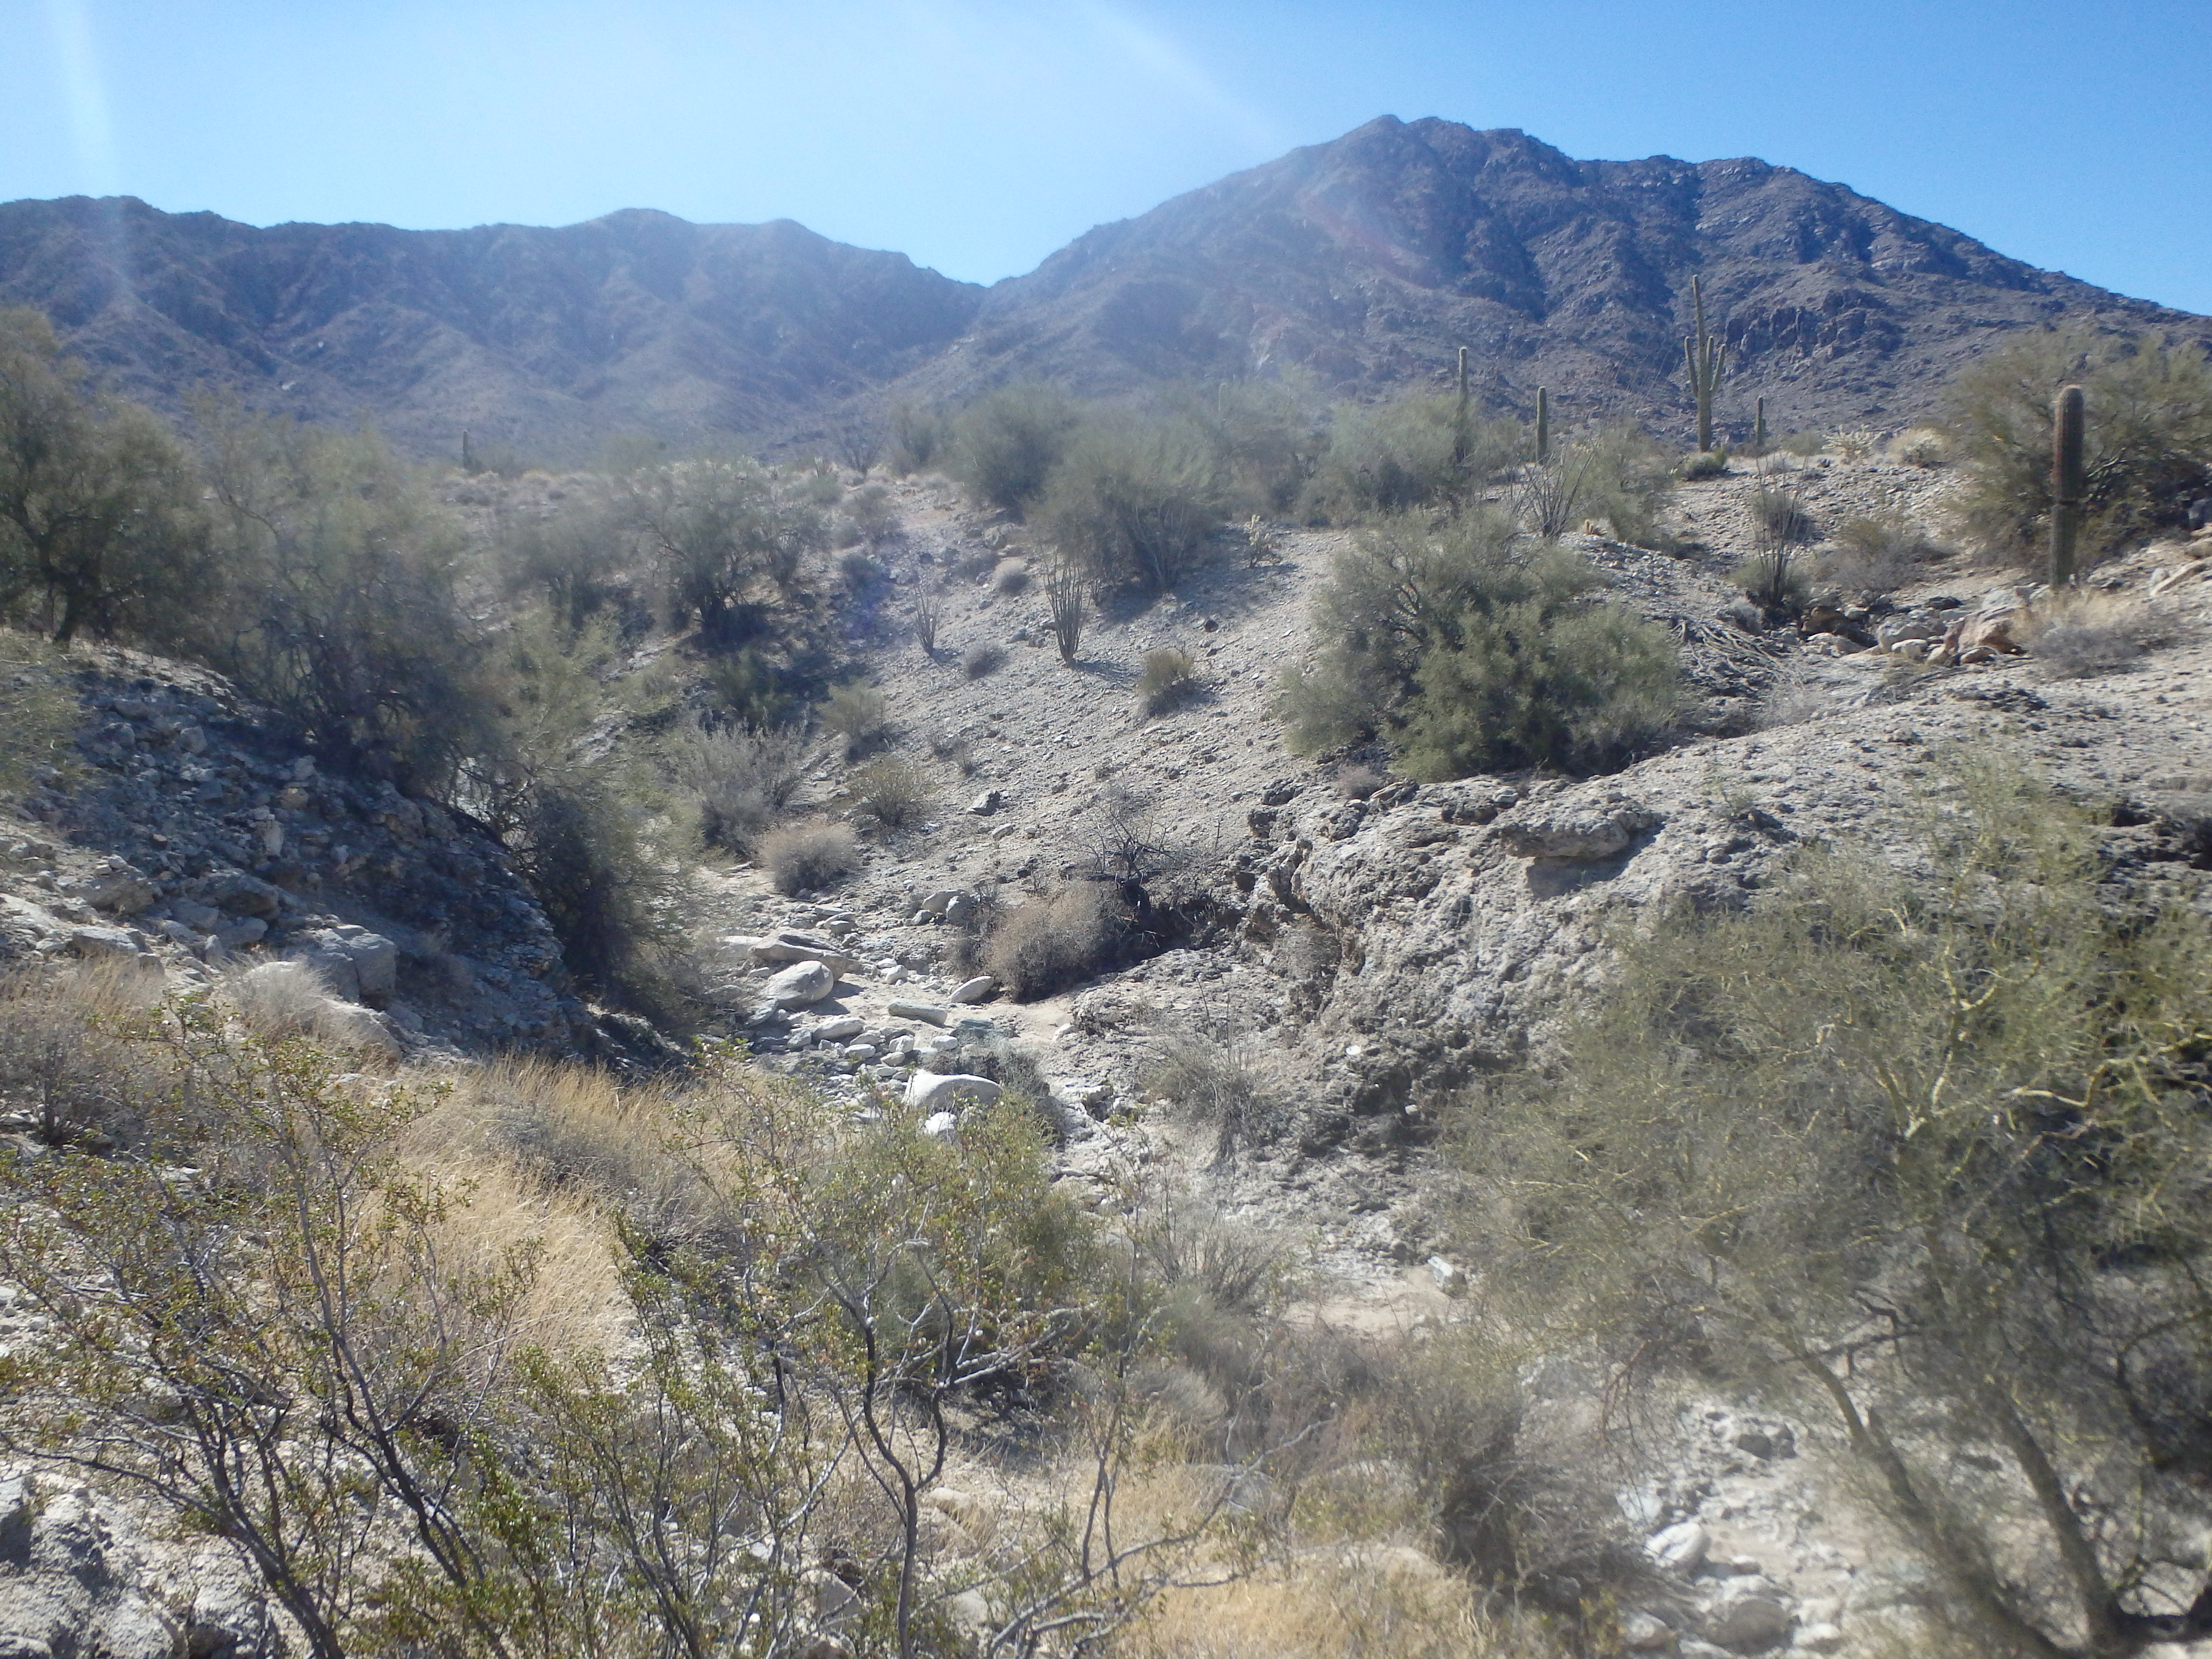
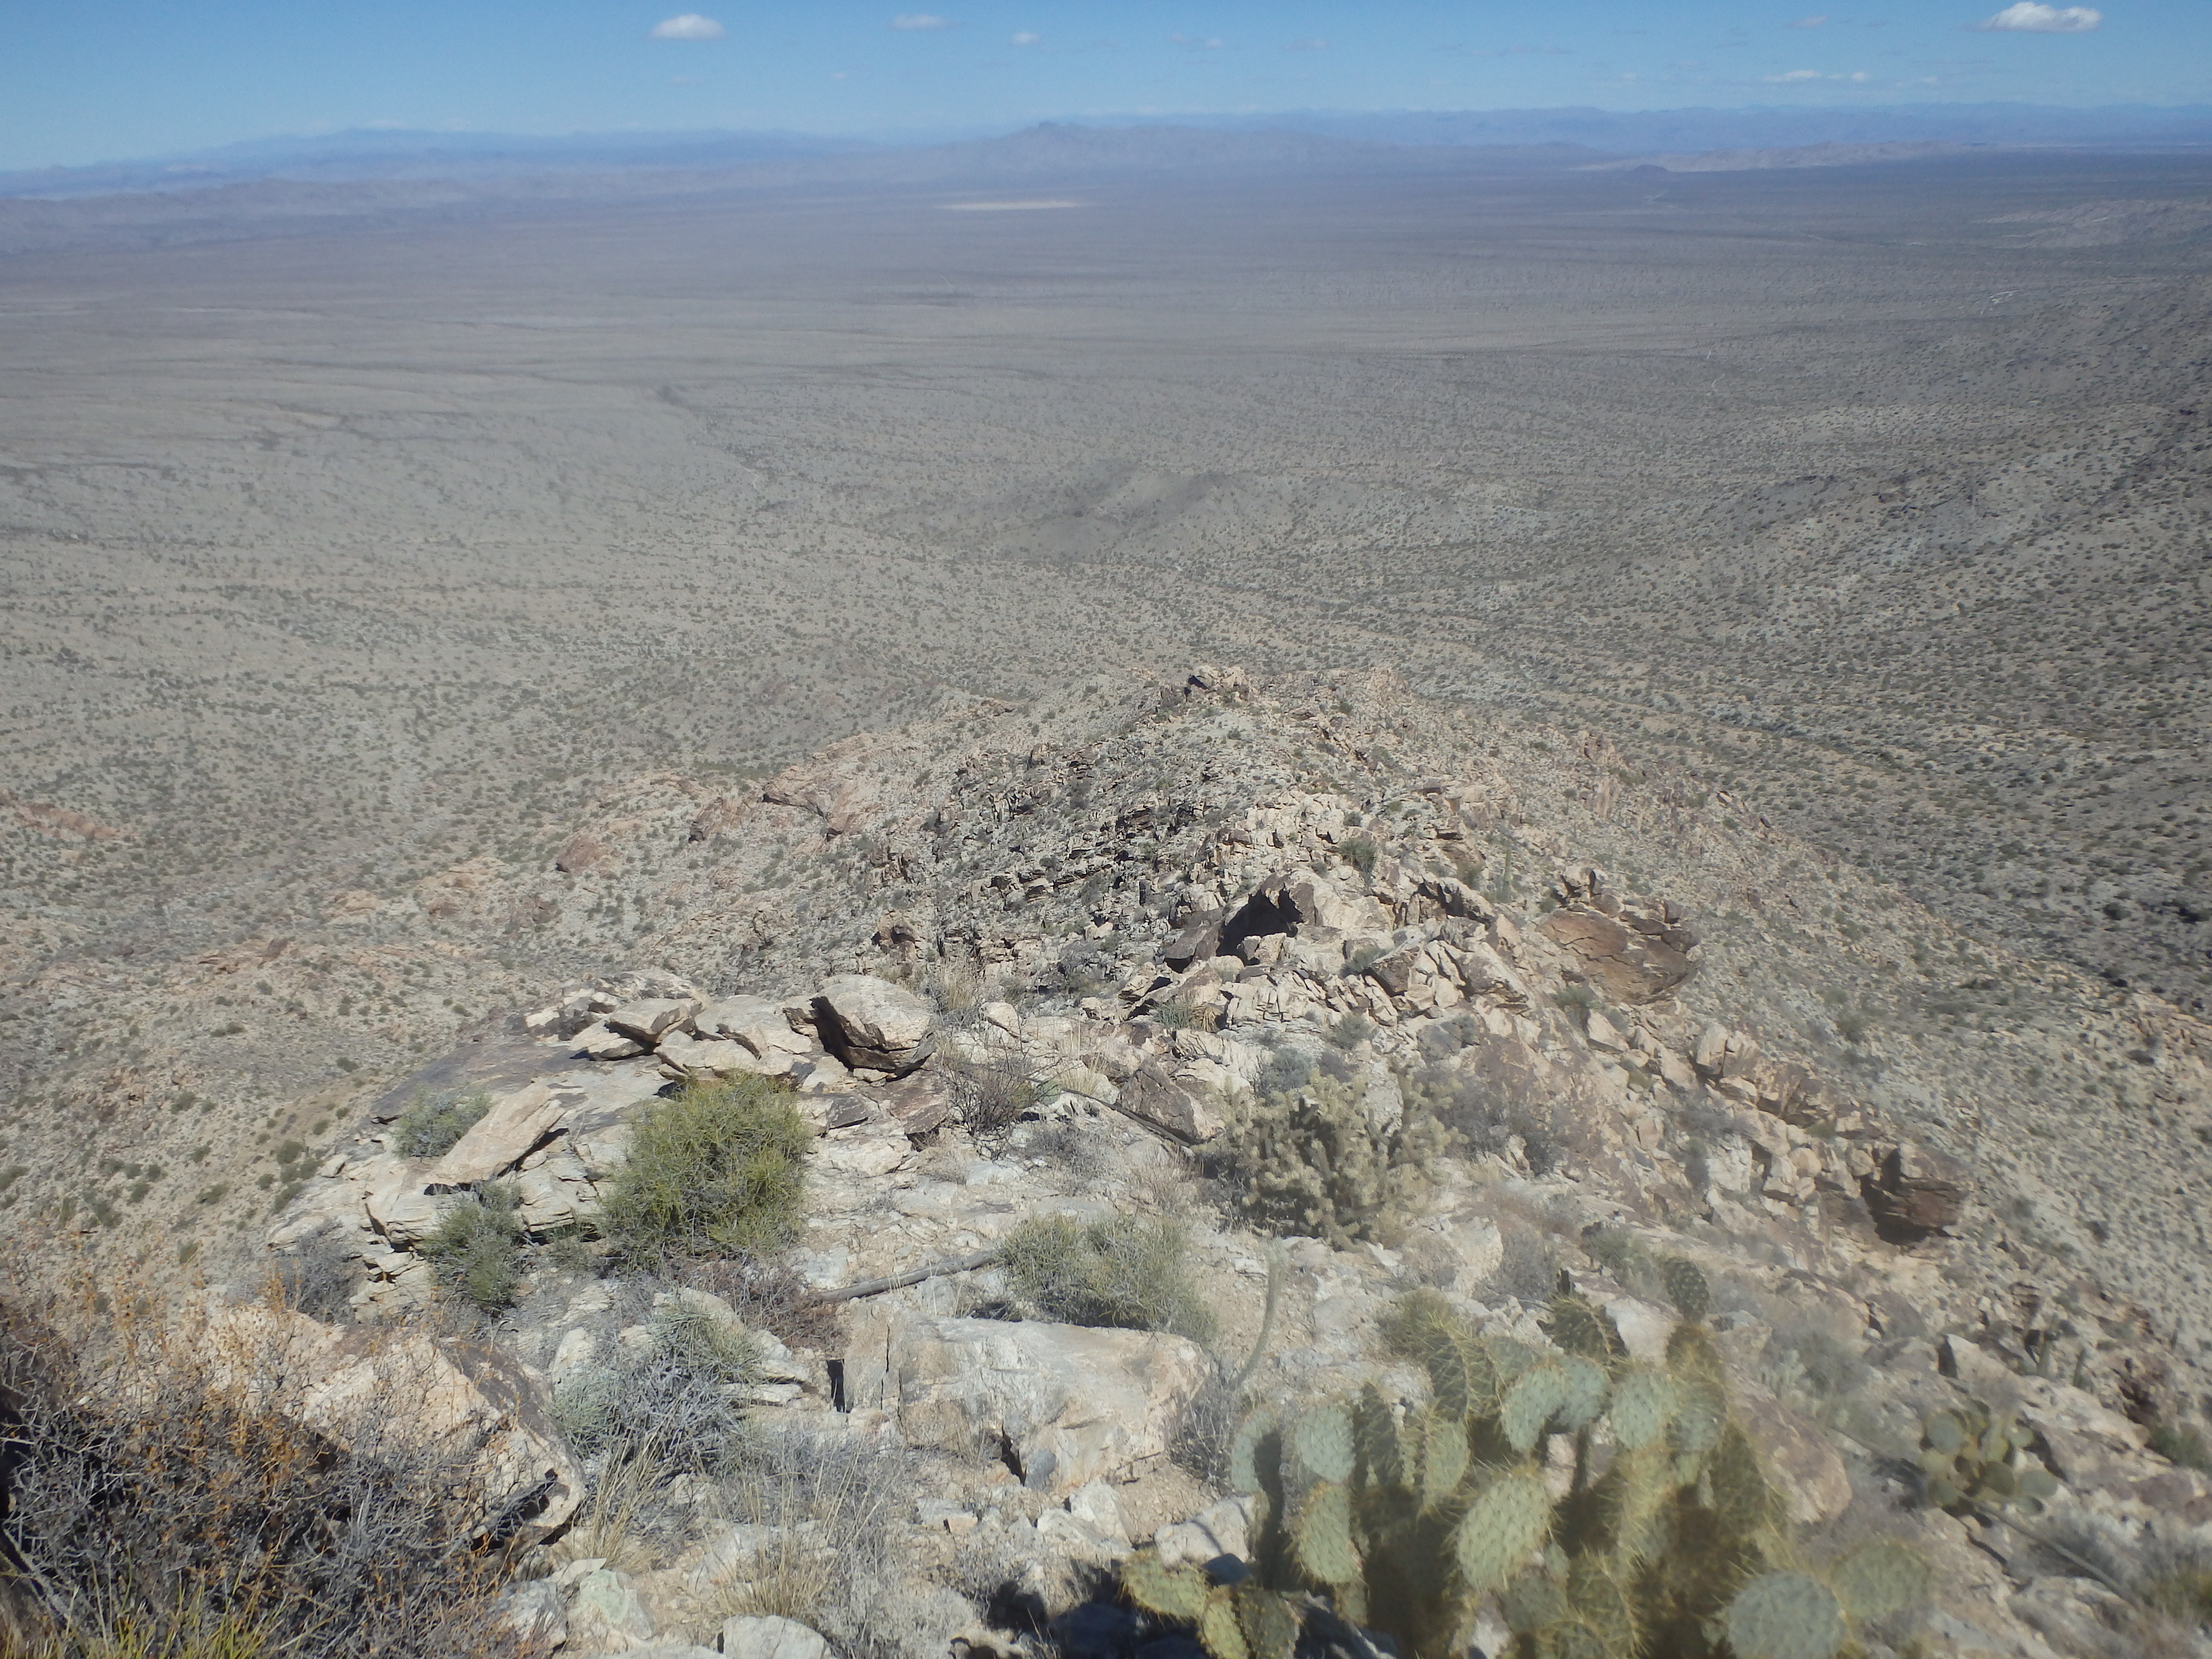
I started across the canyon making more or less a direct line towards the base of the ridge, having to cross a number of surprisingly deep washes across the drainage. I gained only 100-200′ of elevation gain as I headed up the broad wash and took a break at a surprisingly dry waterfall at the base of the ridgeline.
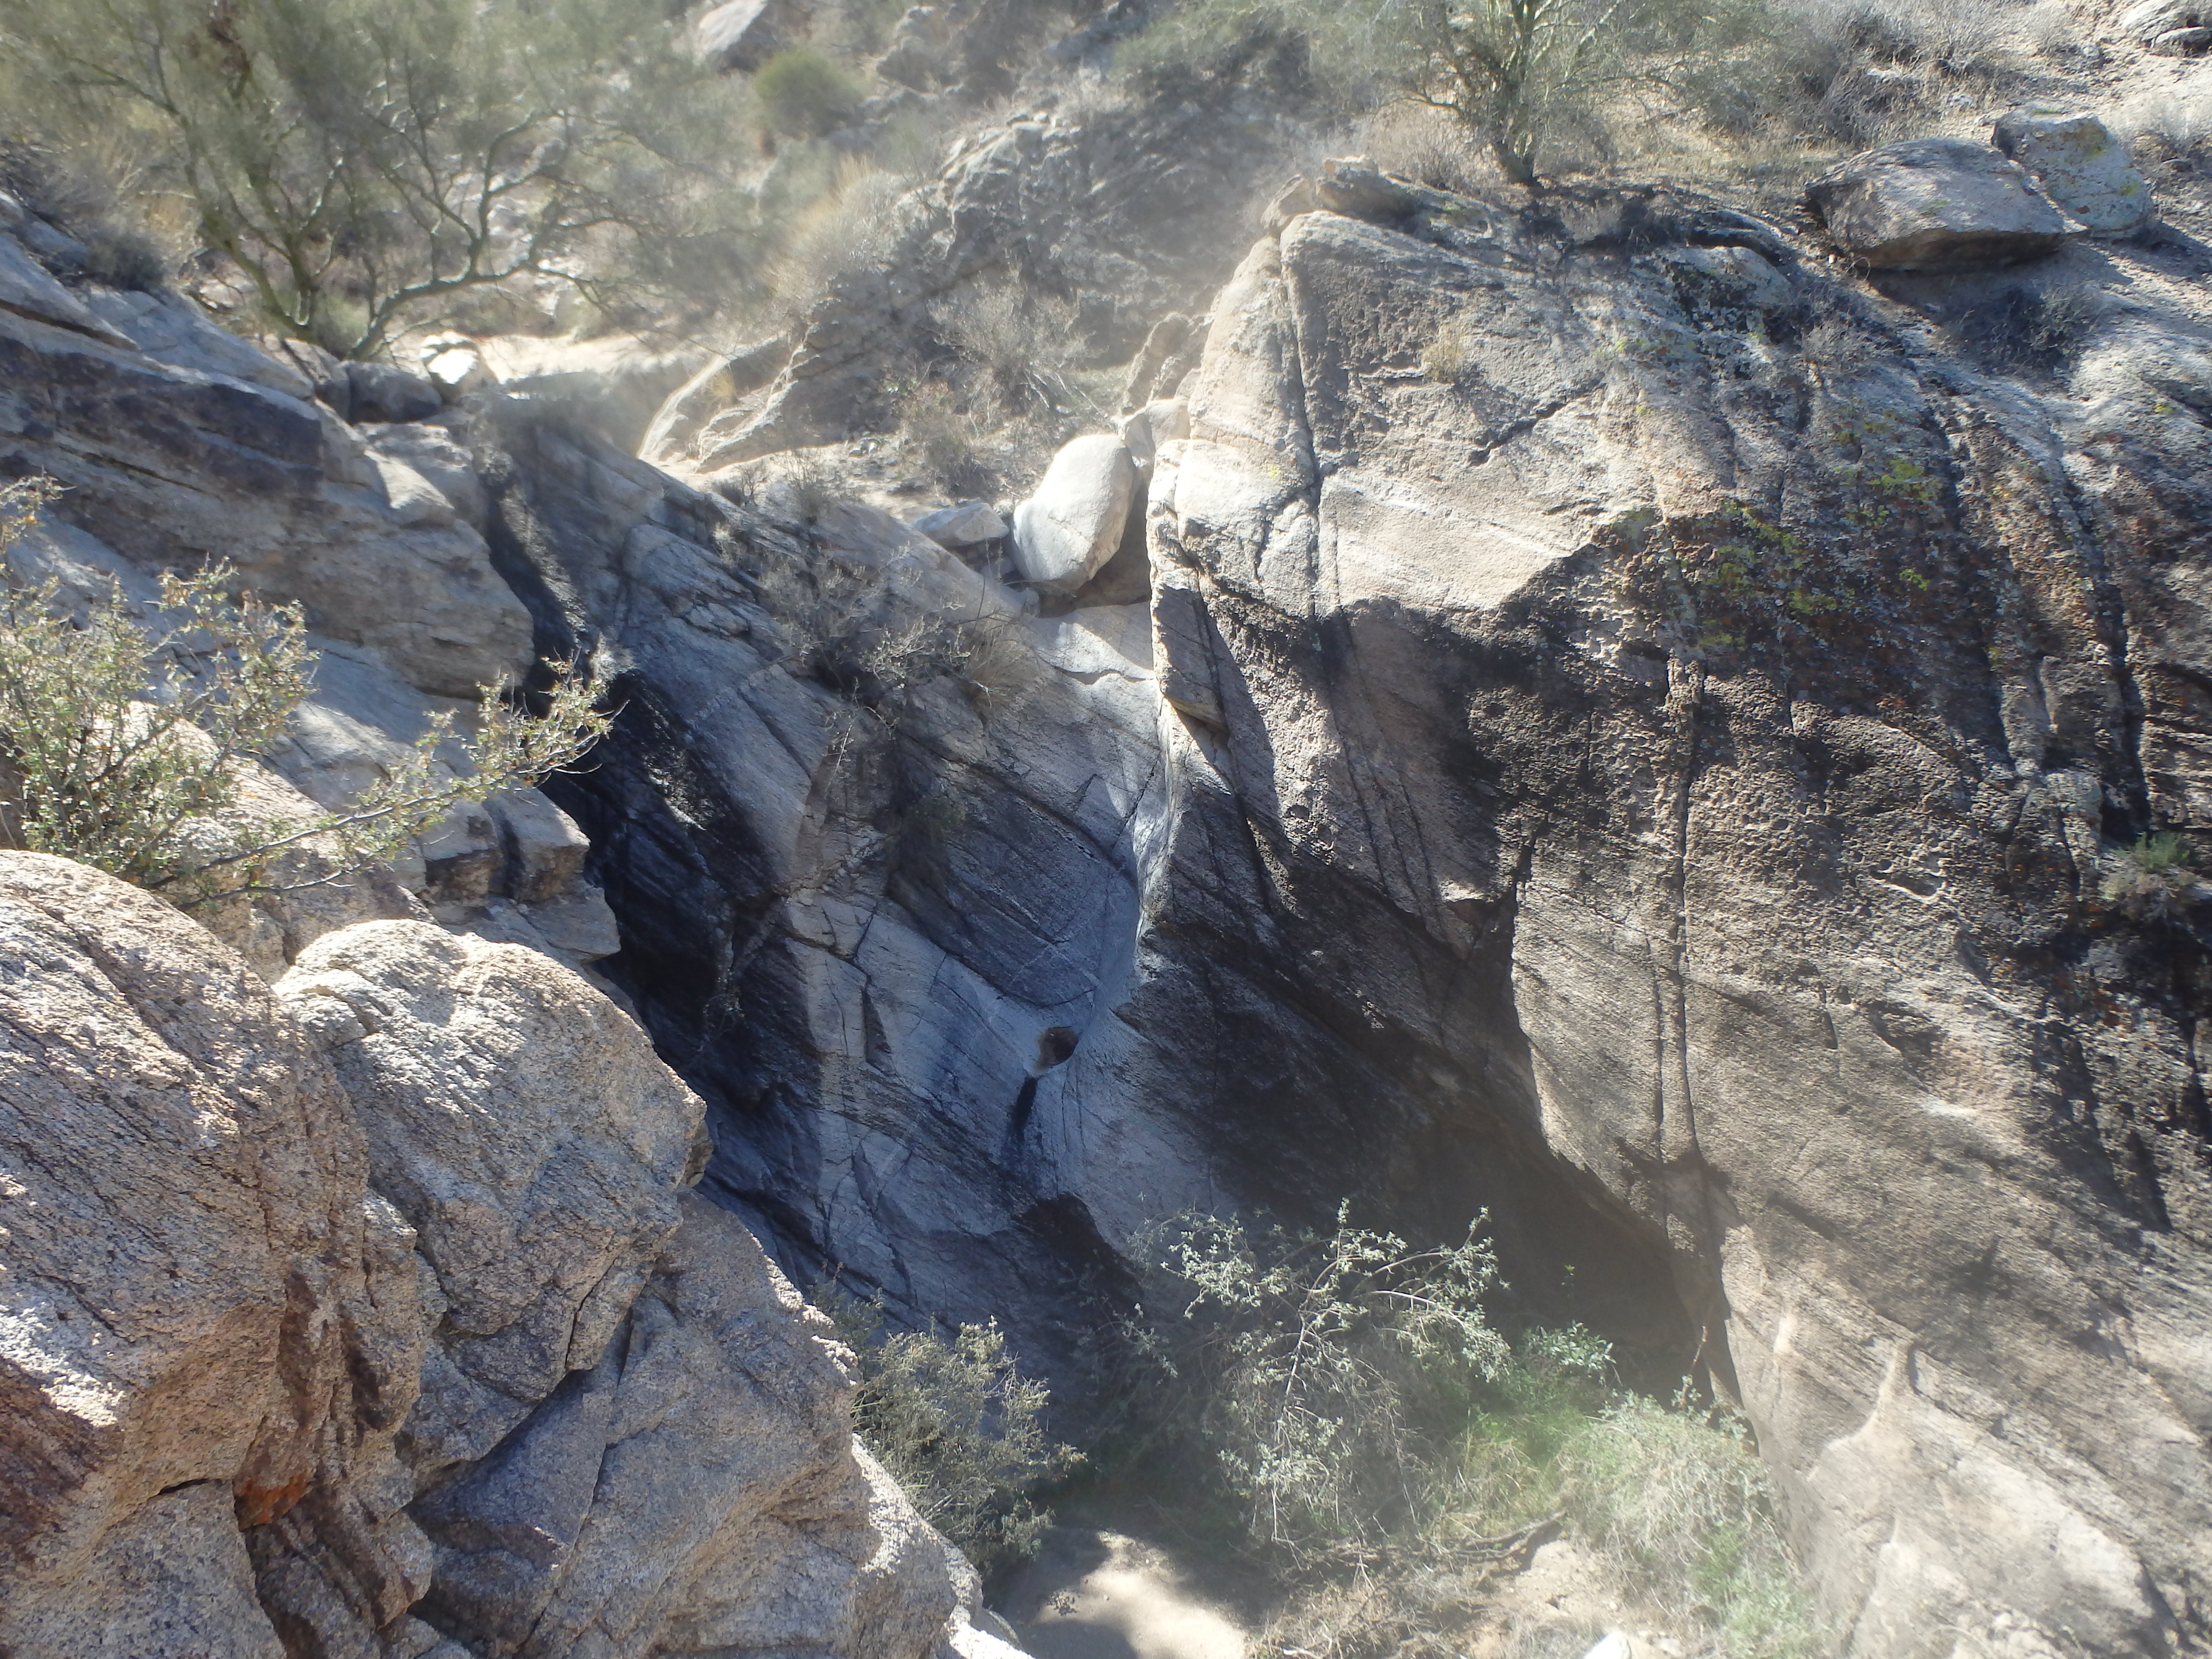
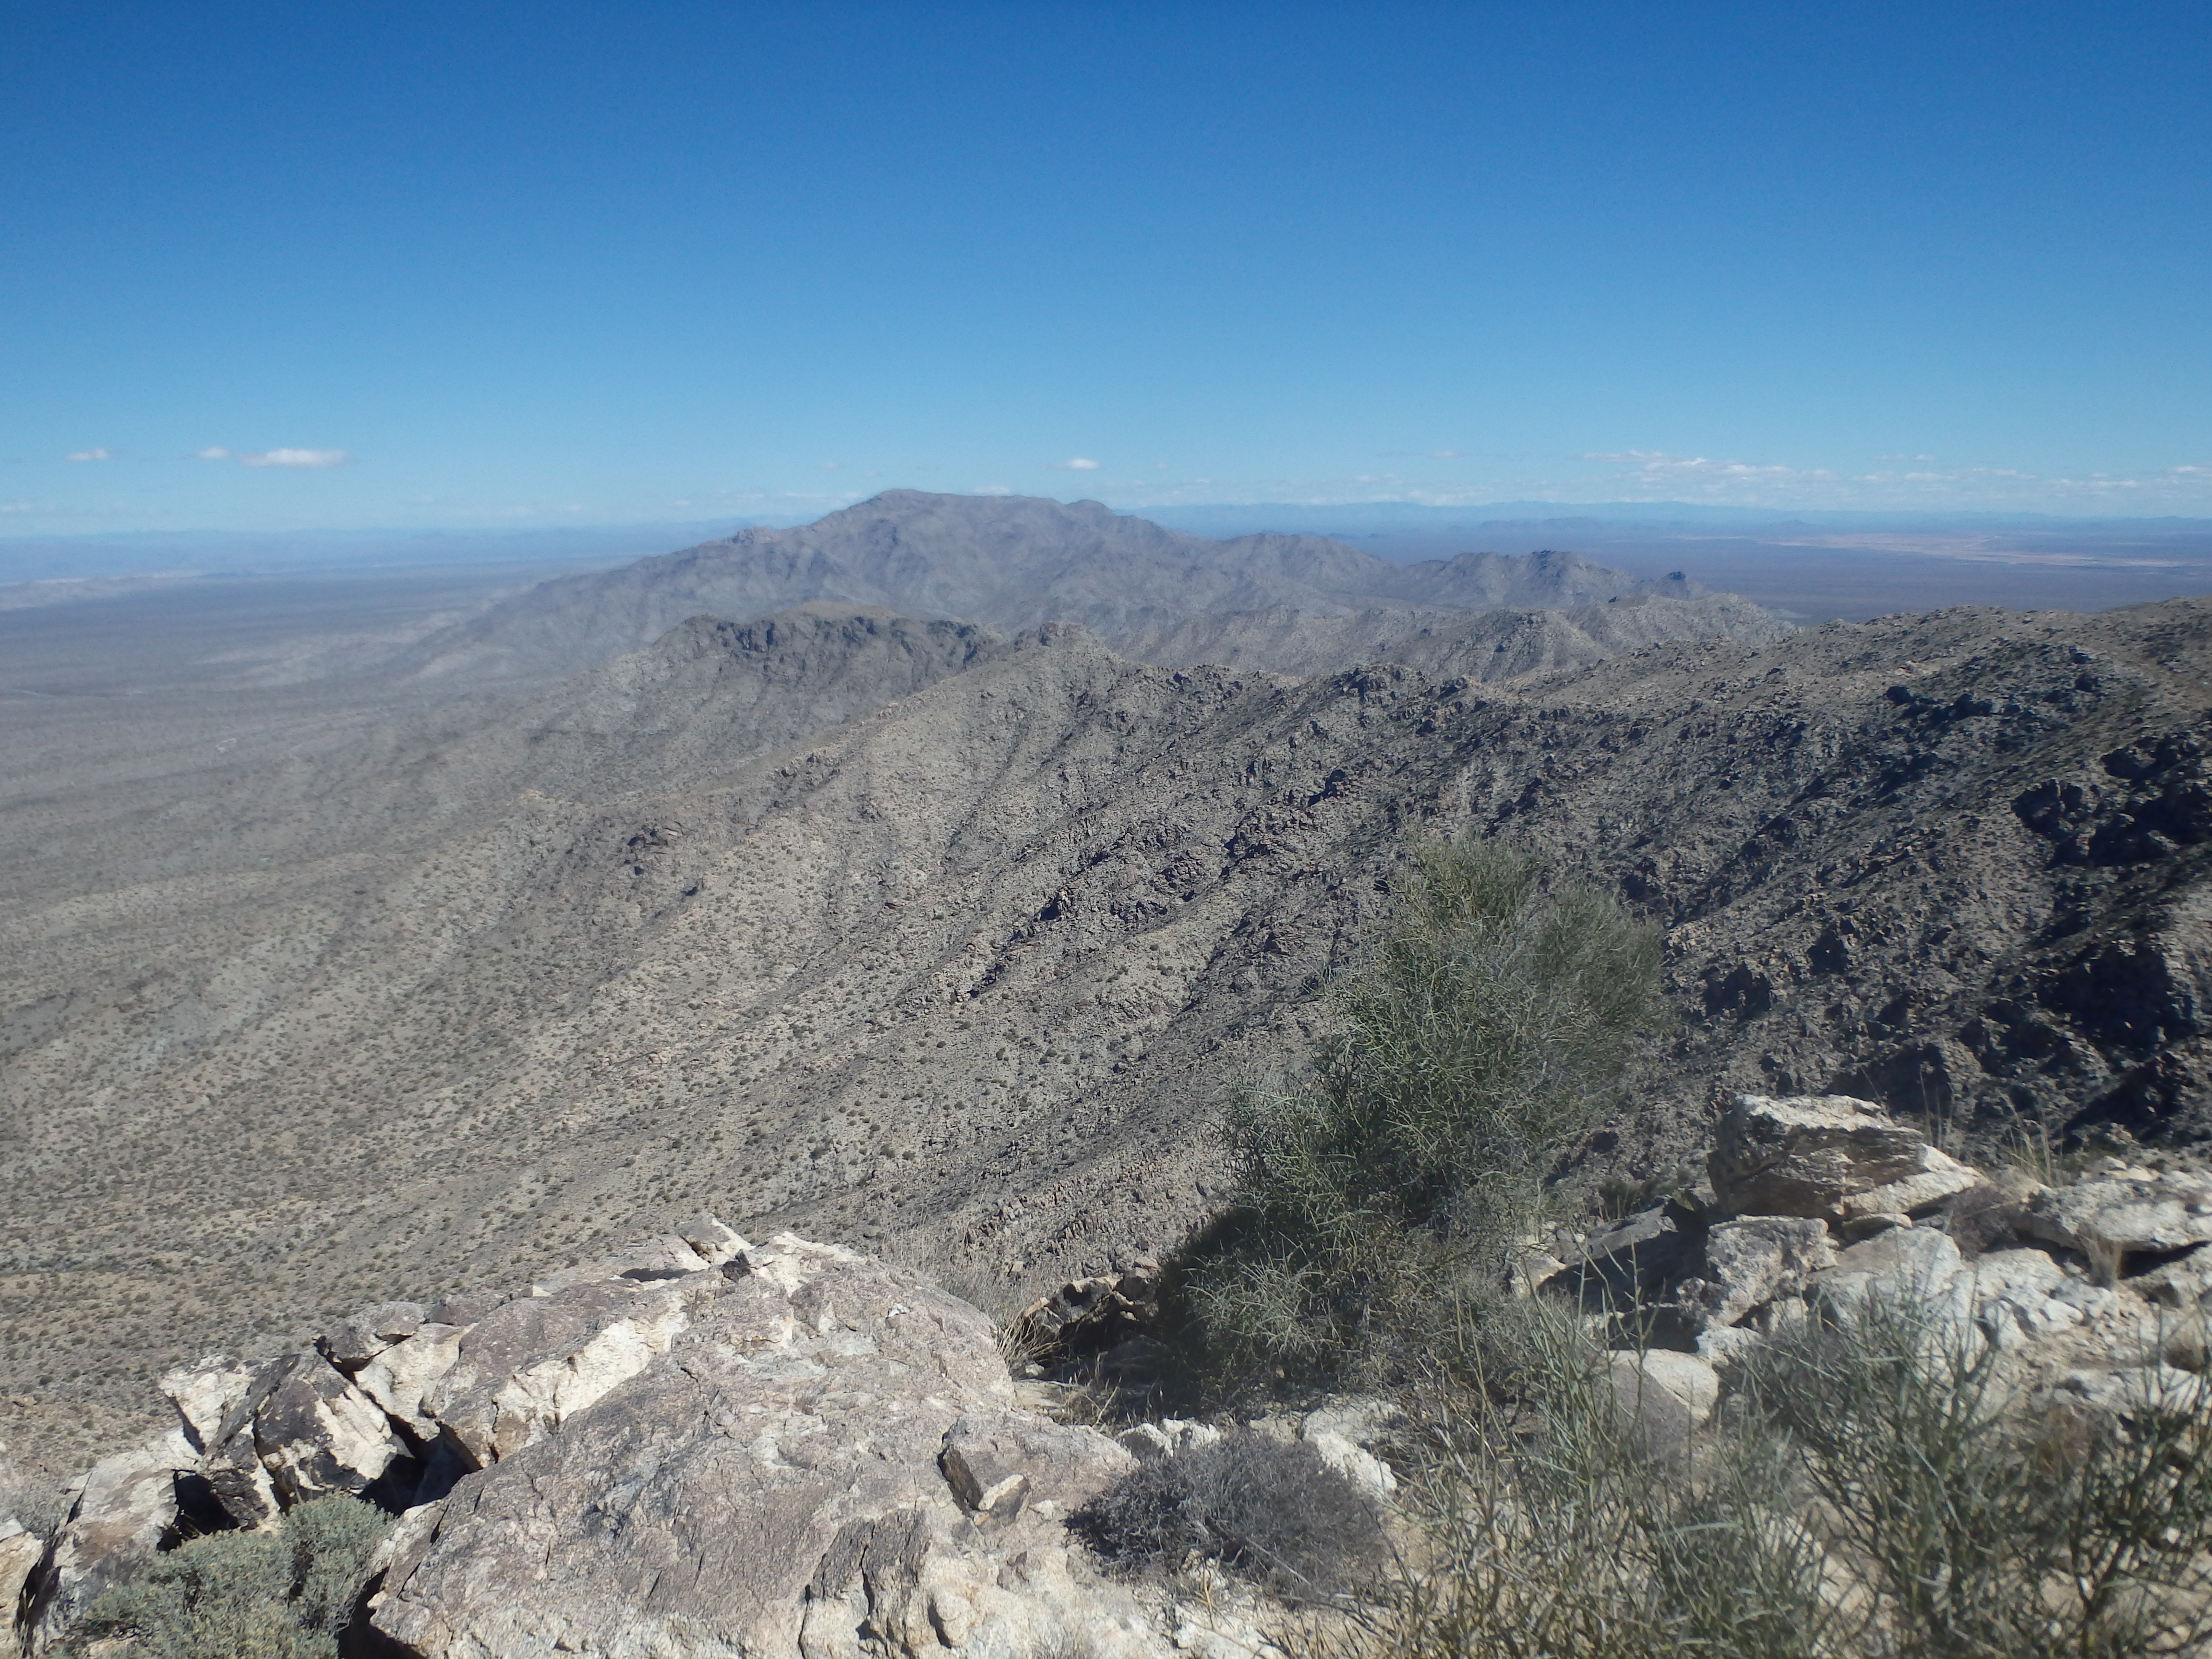
From here it would be a long grind to the summit. After crossing the final wash upcanyon from the falls, I started up the ridgeline. There was a little bit of loose rock after the recent rains, but the footing became more firm the higher I went. About 1/4 of the way up I encountered the first bit of rock, which provided very solid footing as I climbed. I crested over the first rocky outcropping and was surprised to find the ridgeline laid out before me to the summit looking far more complex than I had expected, with numerous rocky pinnacles and gendarmes on route. What I thought would be a loose and brushy ridgeline slog was having potential to turn into a fun day of scrambling. As I climbed higher, the better the route became with the best and most solid rock, mostly basalt with a mix of white granite, directly in the center of the ridgeline. A little over halfway up was the largest rock outcropping yet, a good 40′ high with a steep class 3 ramp to gain access. I was a little worried I would get cliffed out on the far end and traversed south further up the ridgeline, finding that it would go as a scramble once I was past.
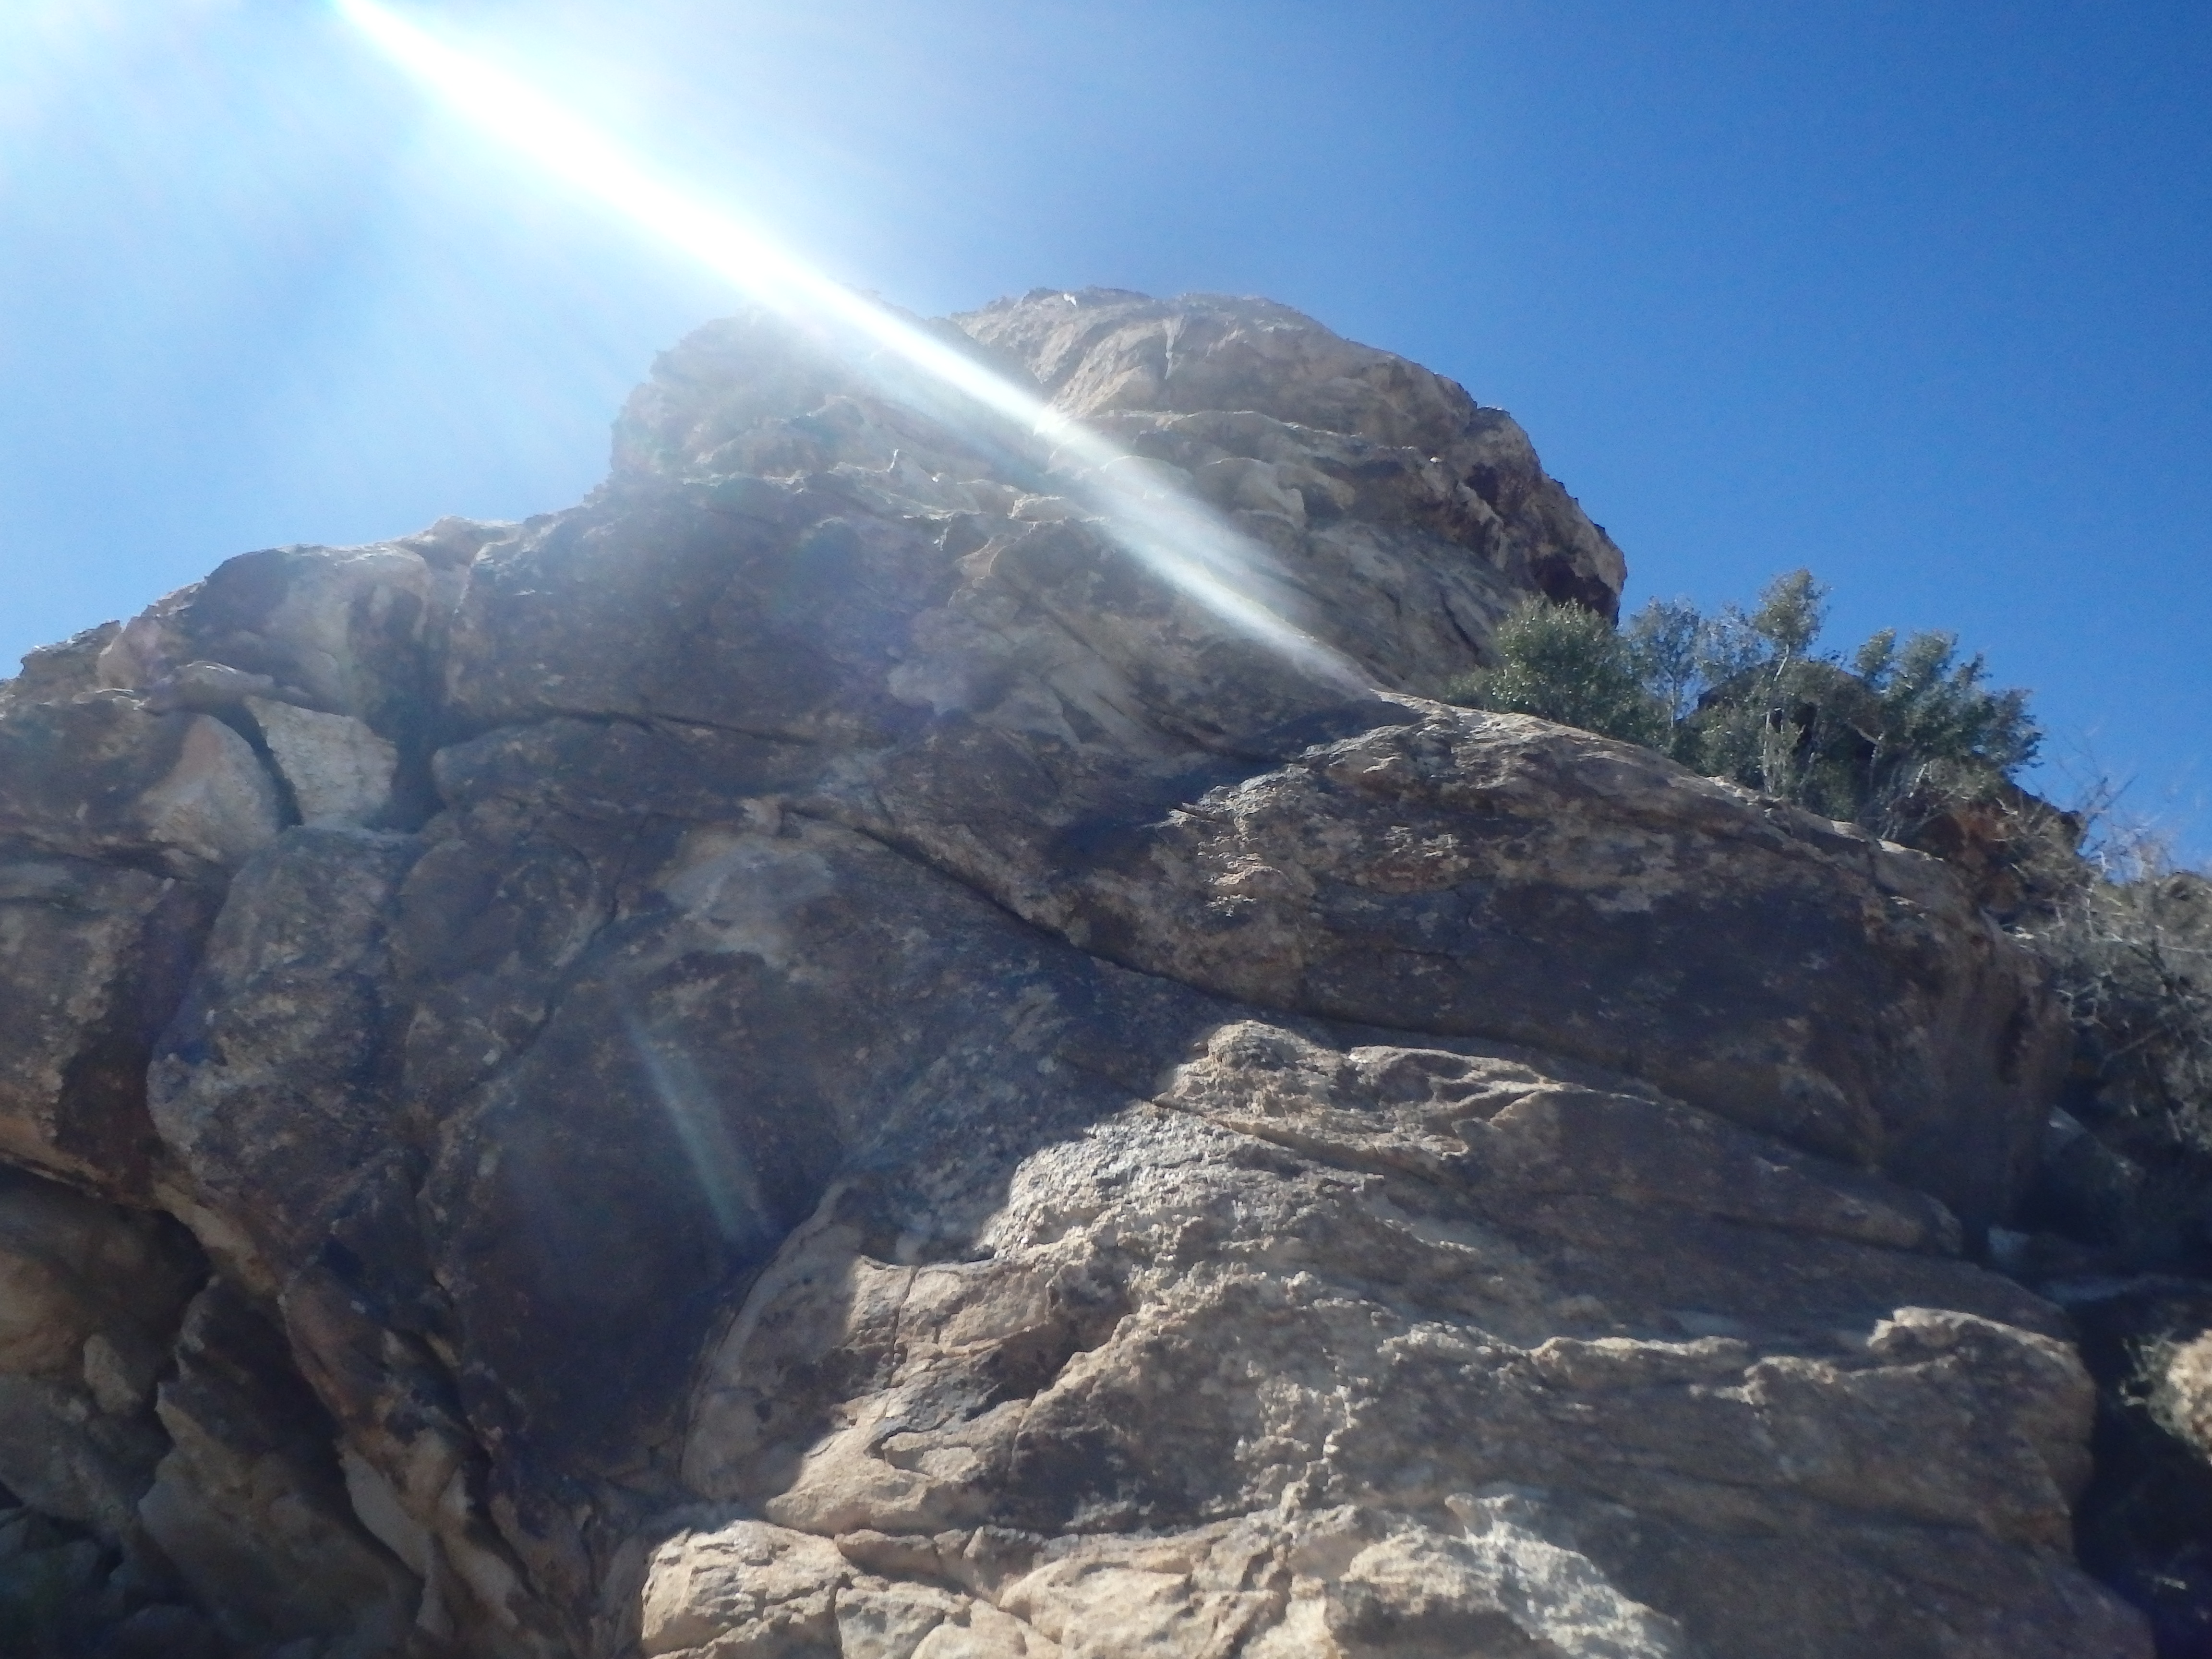
Beyond this largest rock the ridgline briefly became less rocky and more brushy. I thought the scrambling was over until reaching another short series of rocky pinnacles followed by an interesting cliff band which provided some of the most vertical and challenging scrambling on the day.
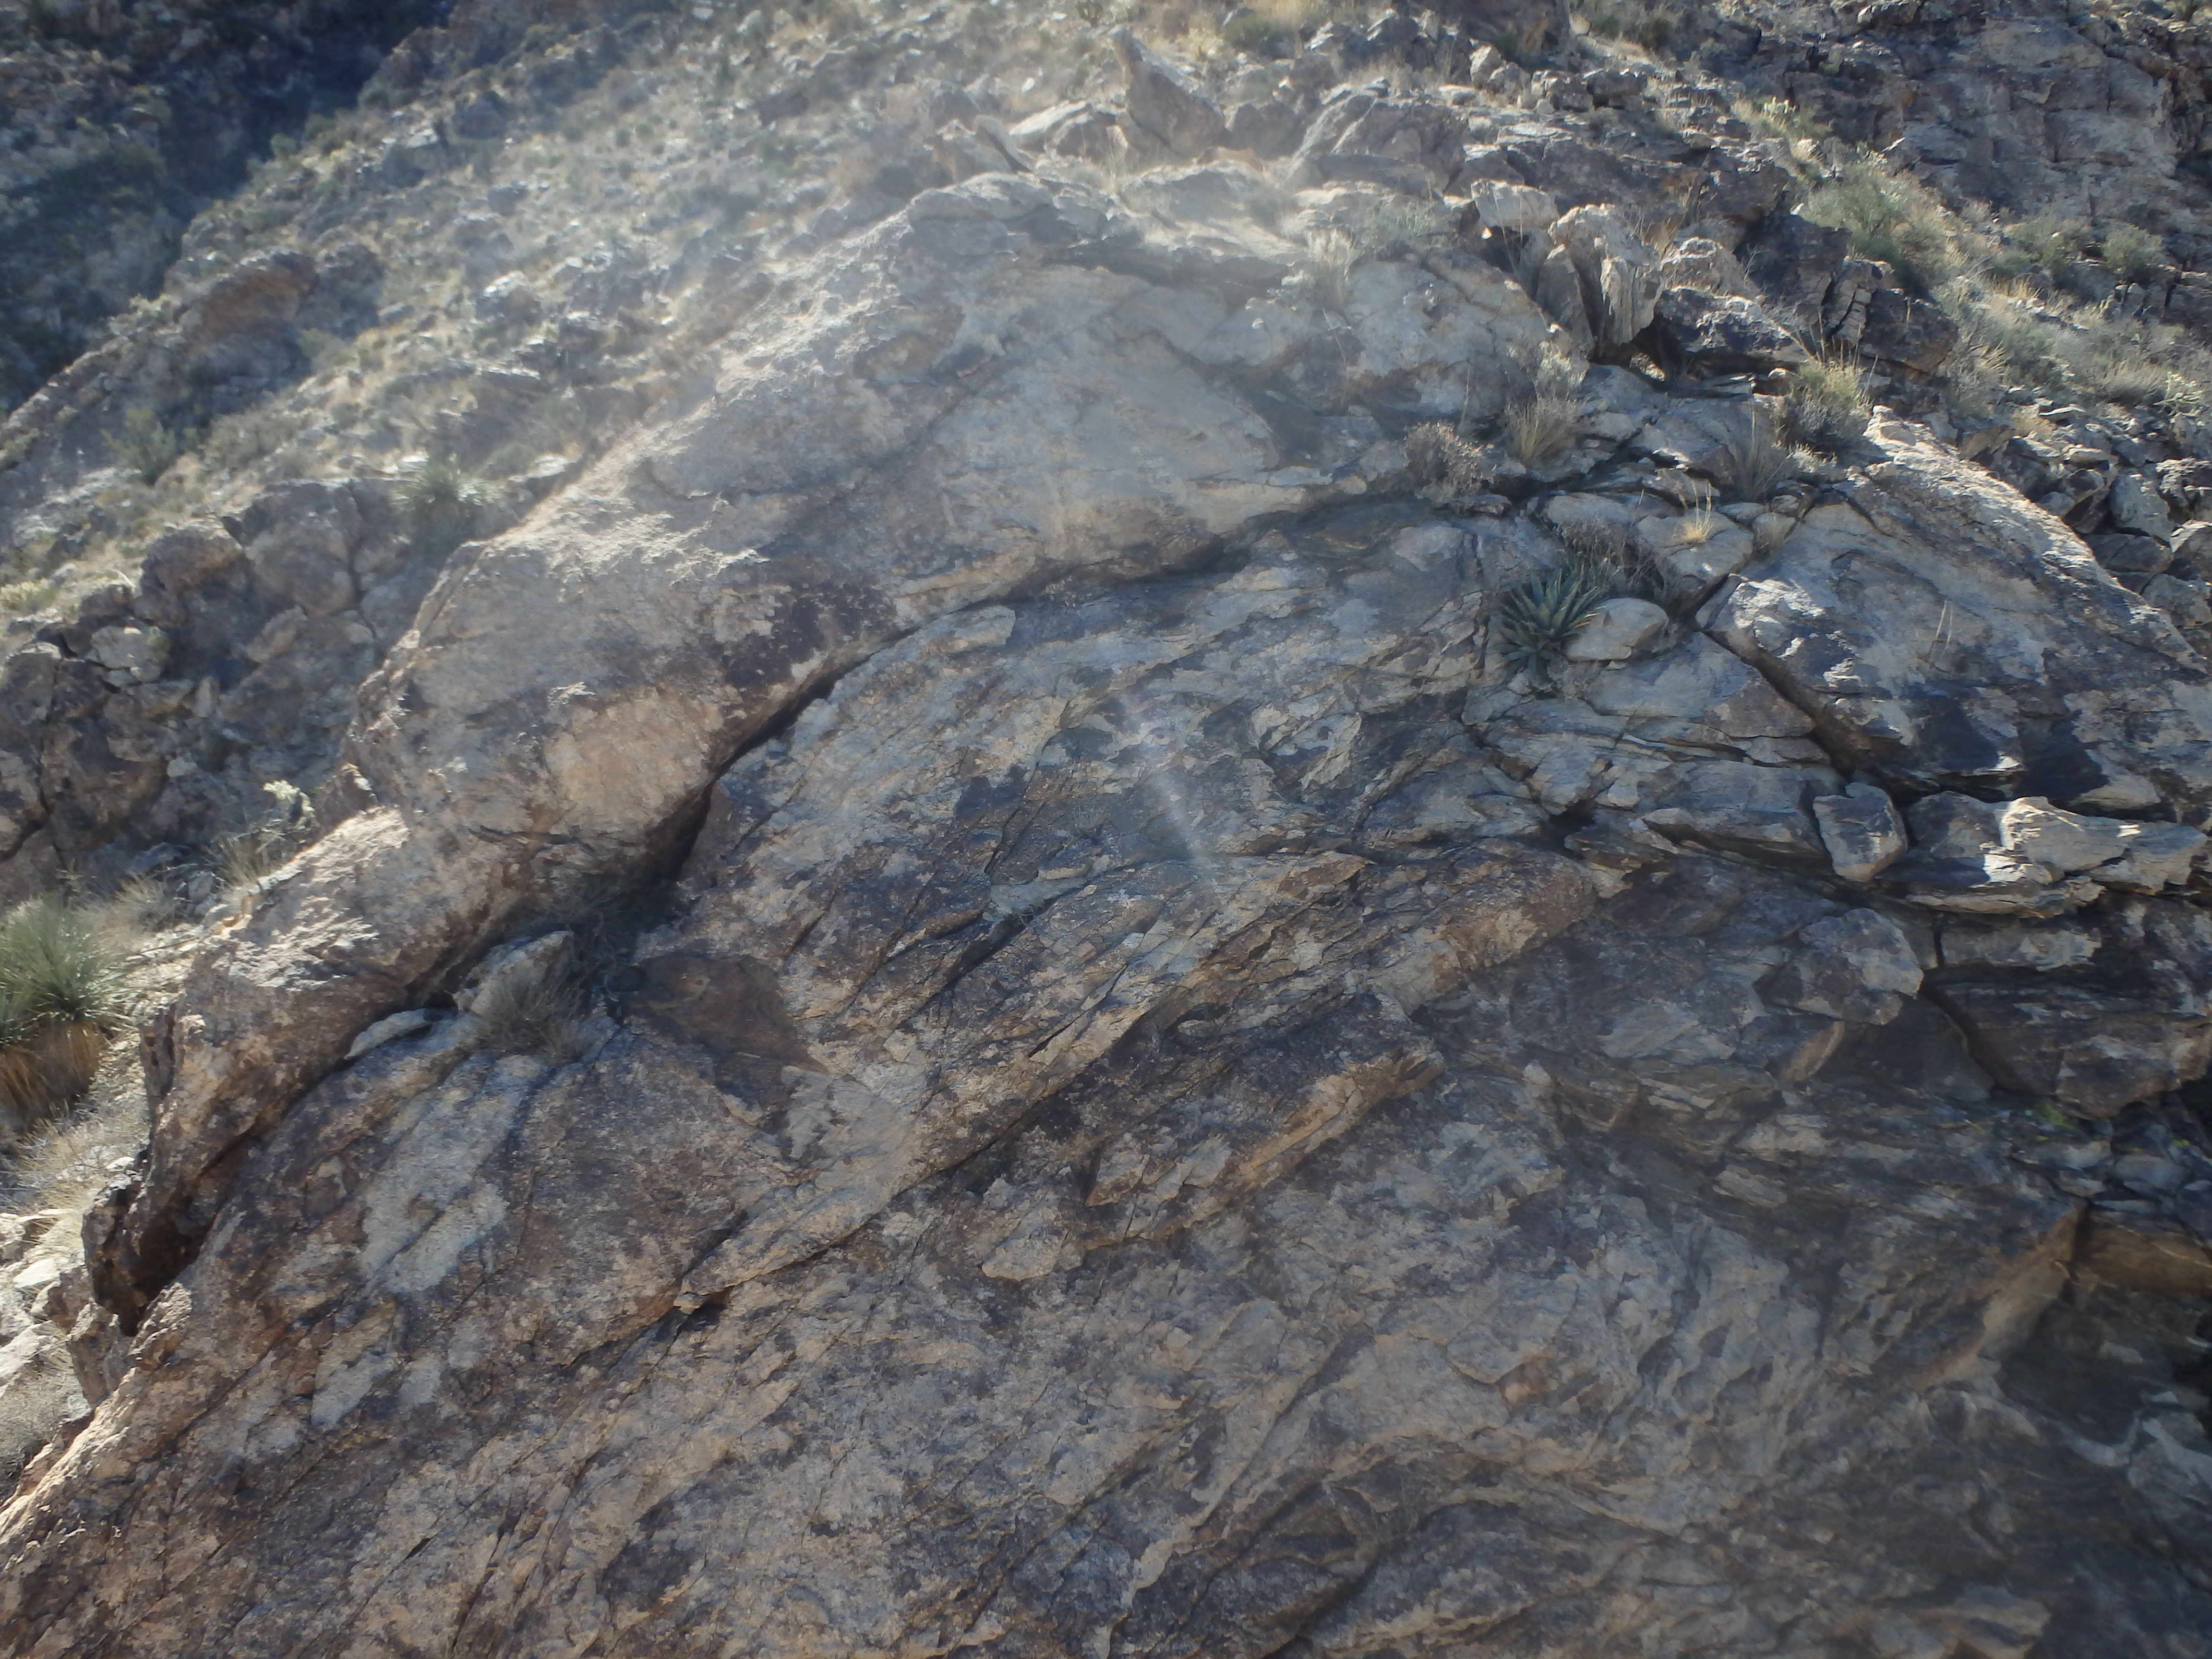
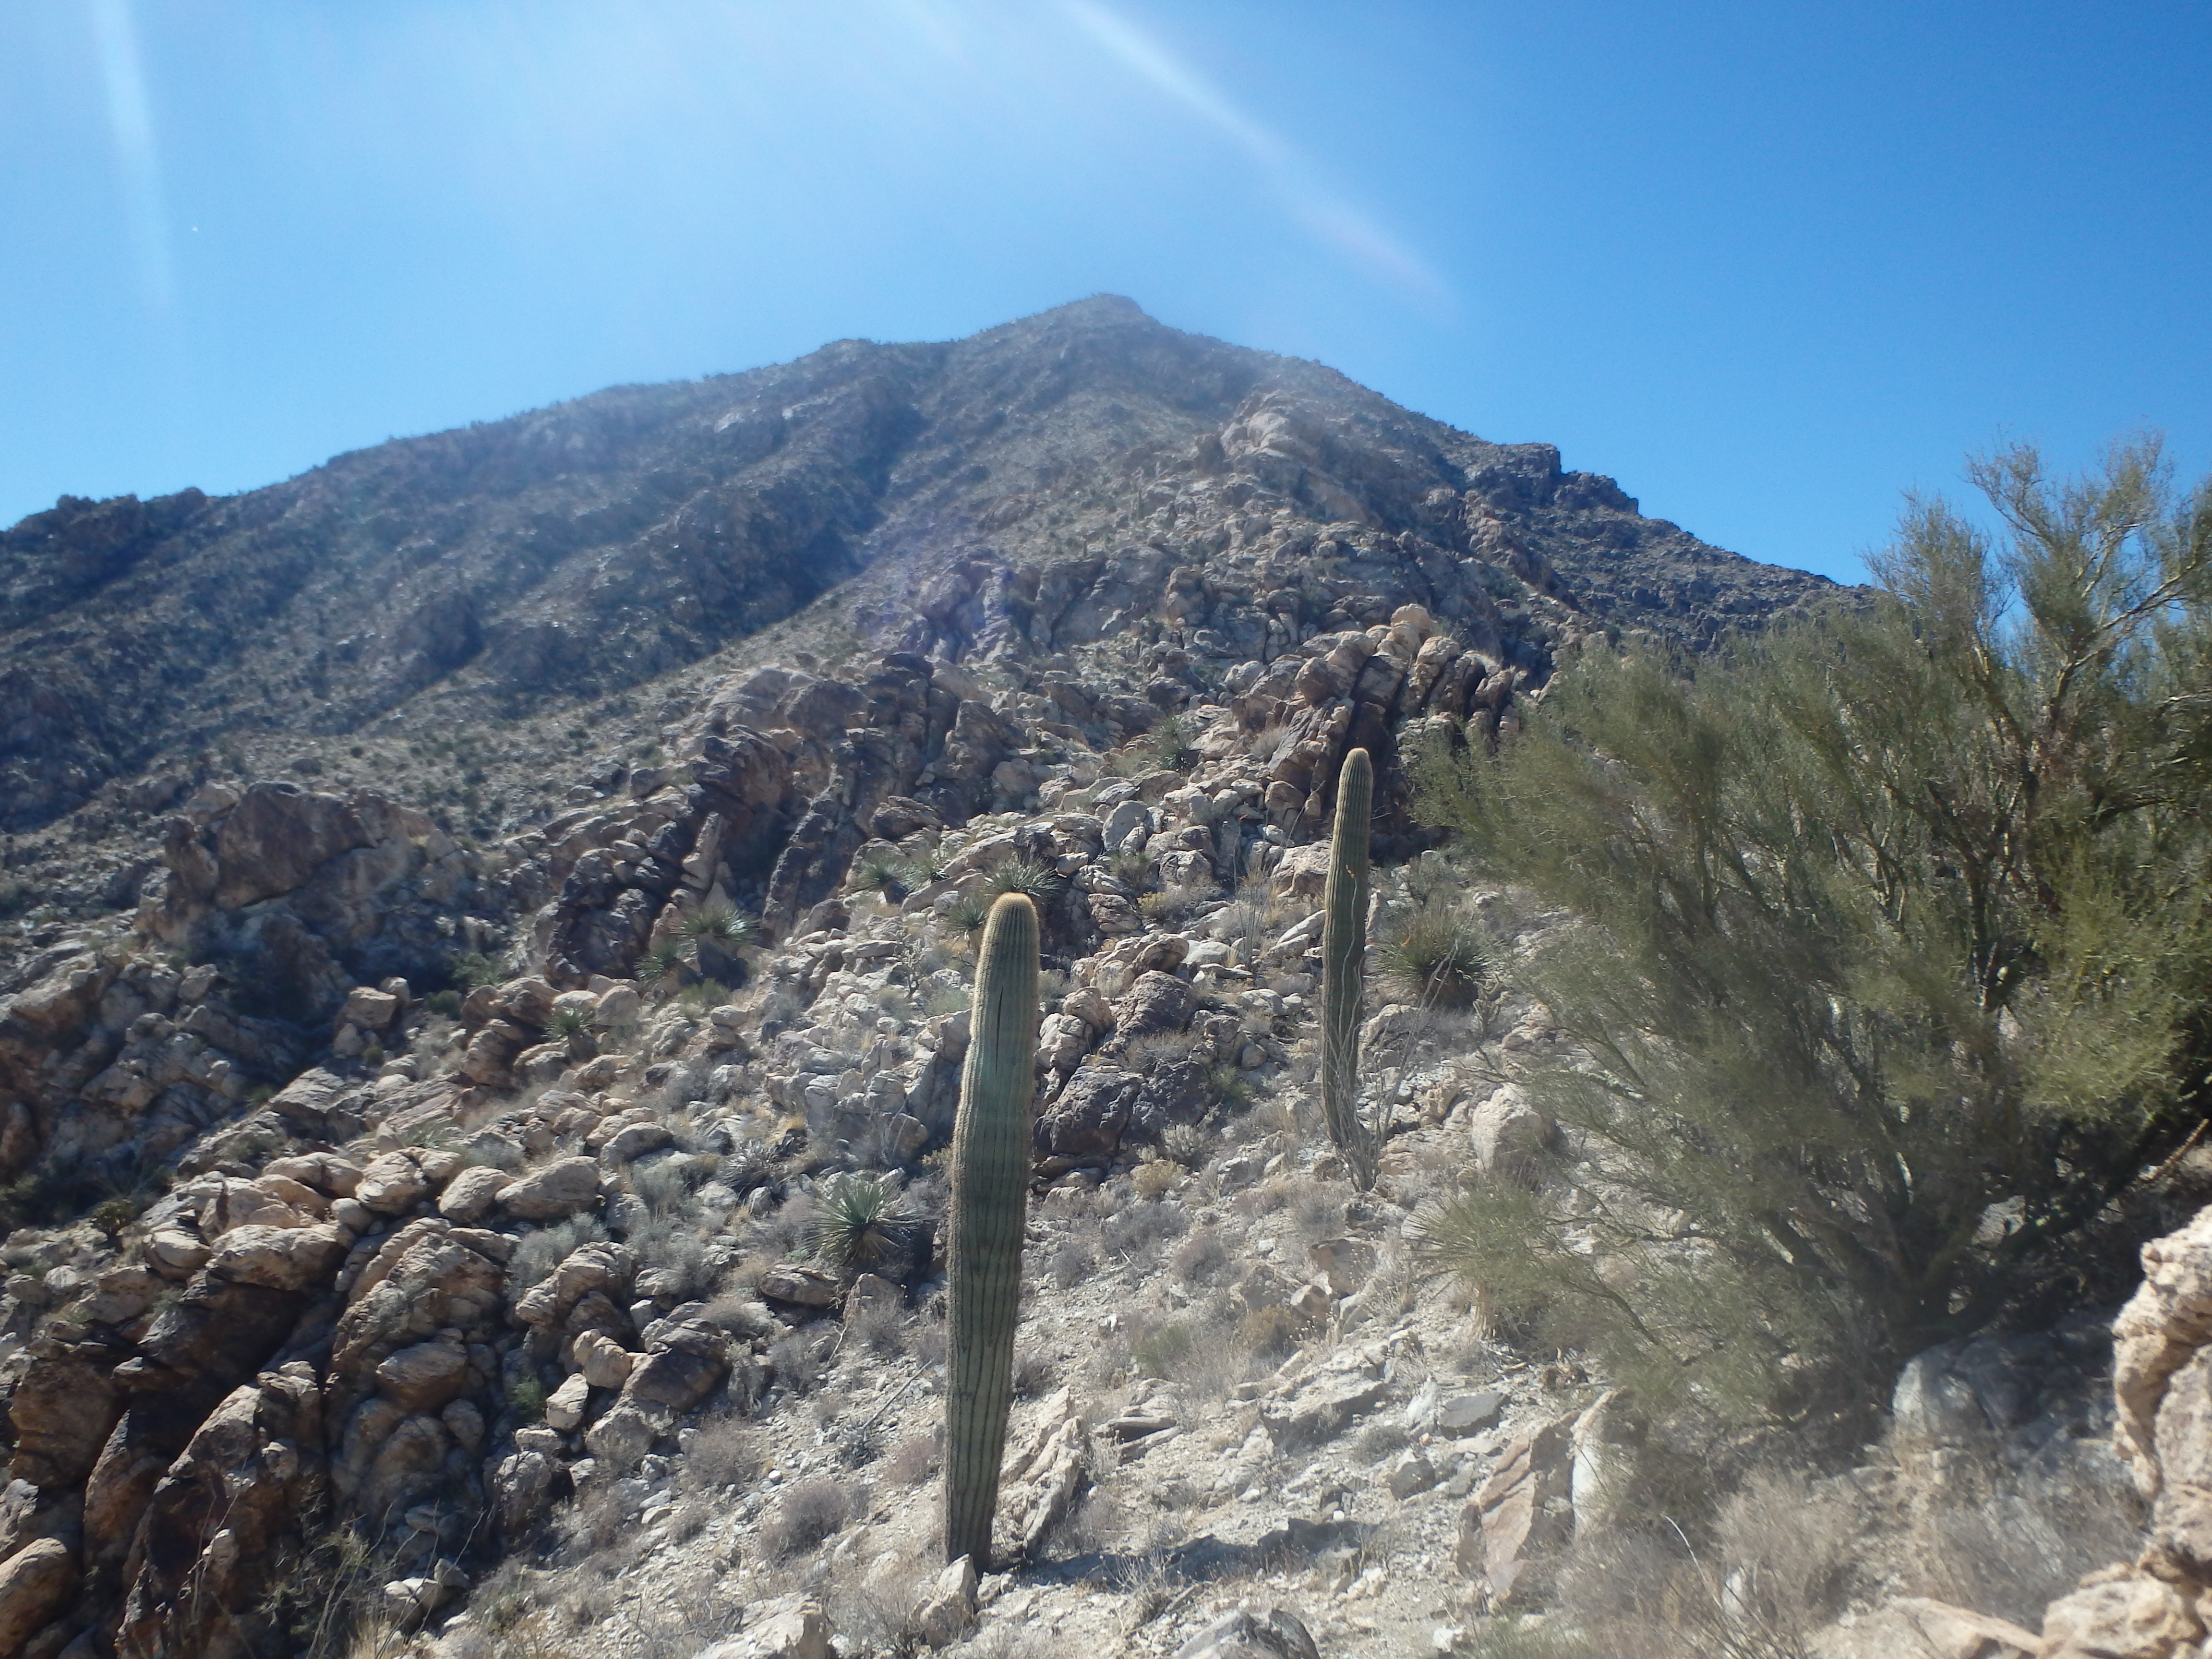
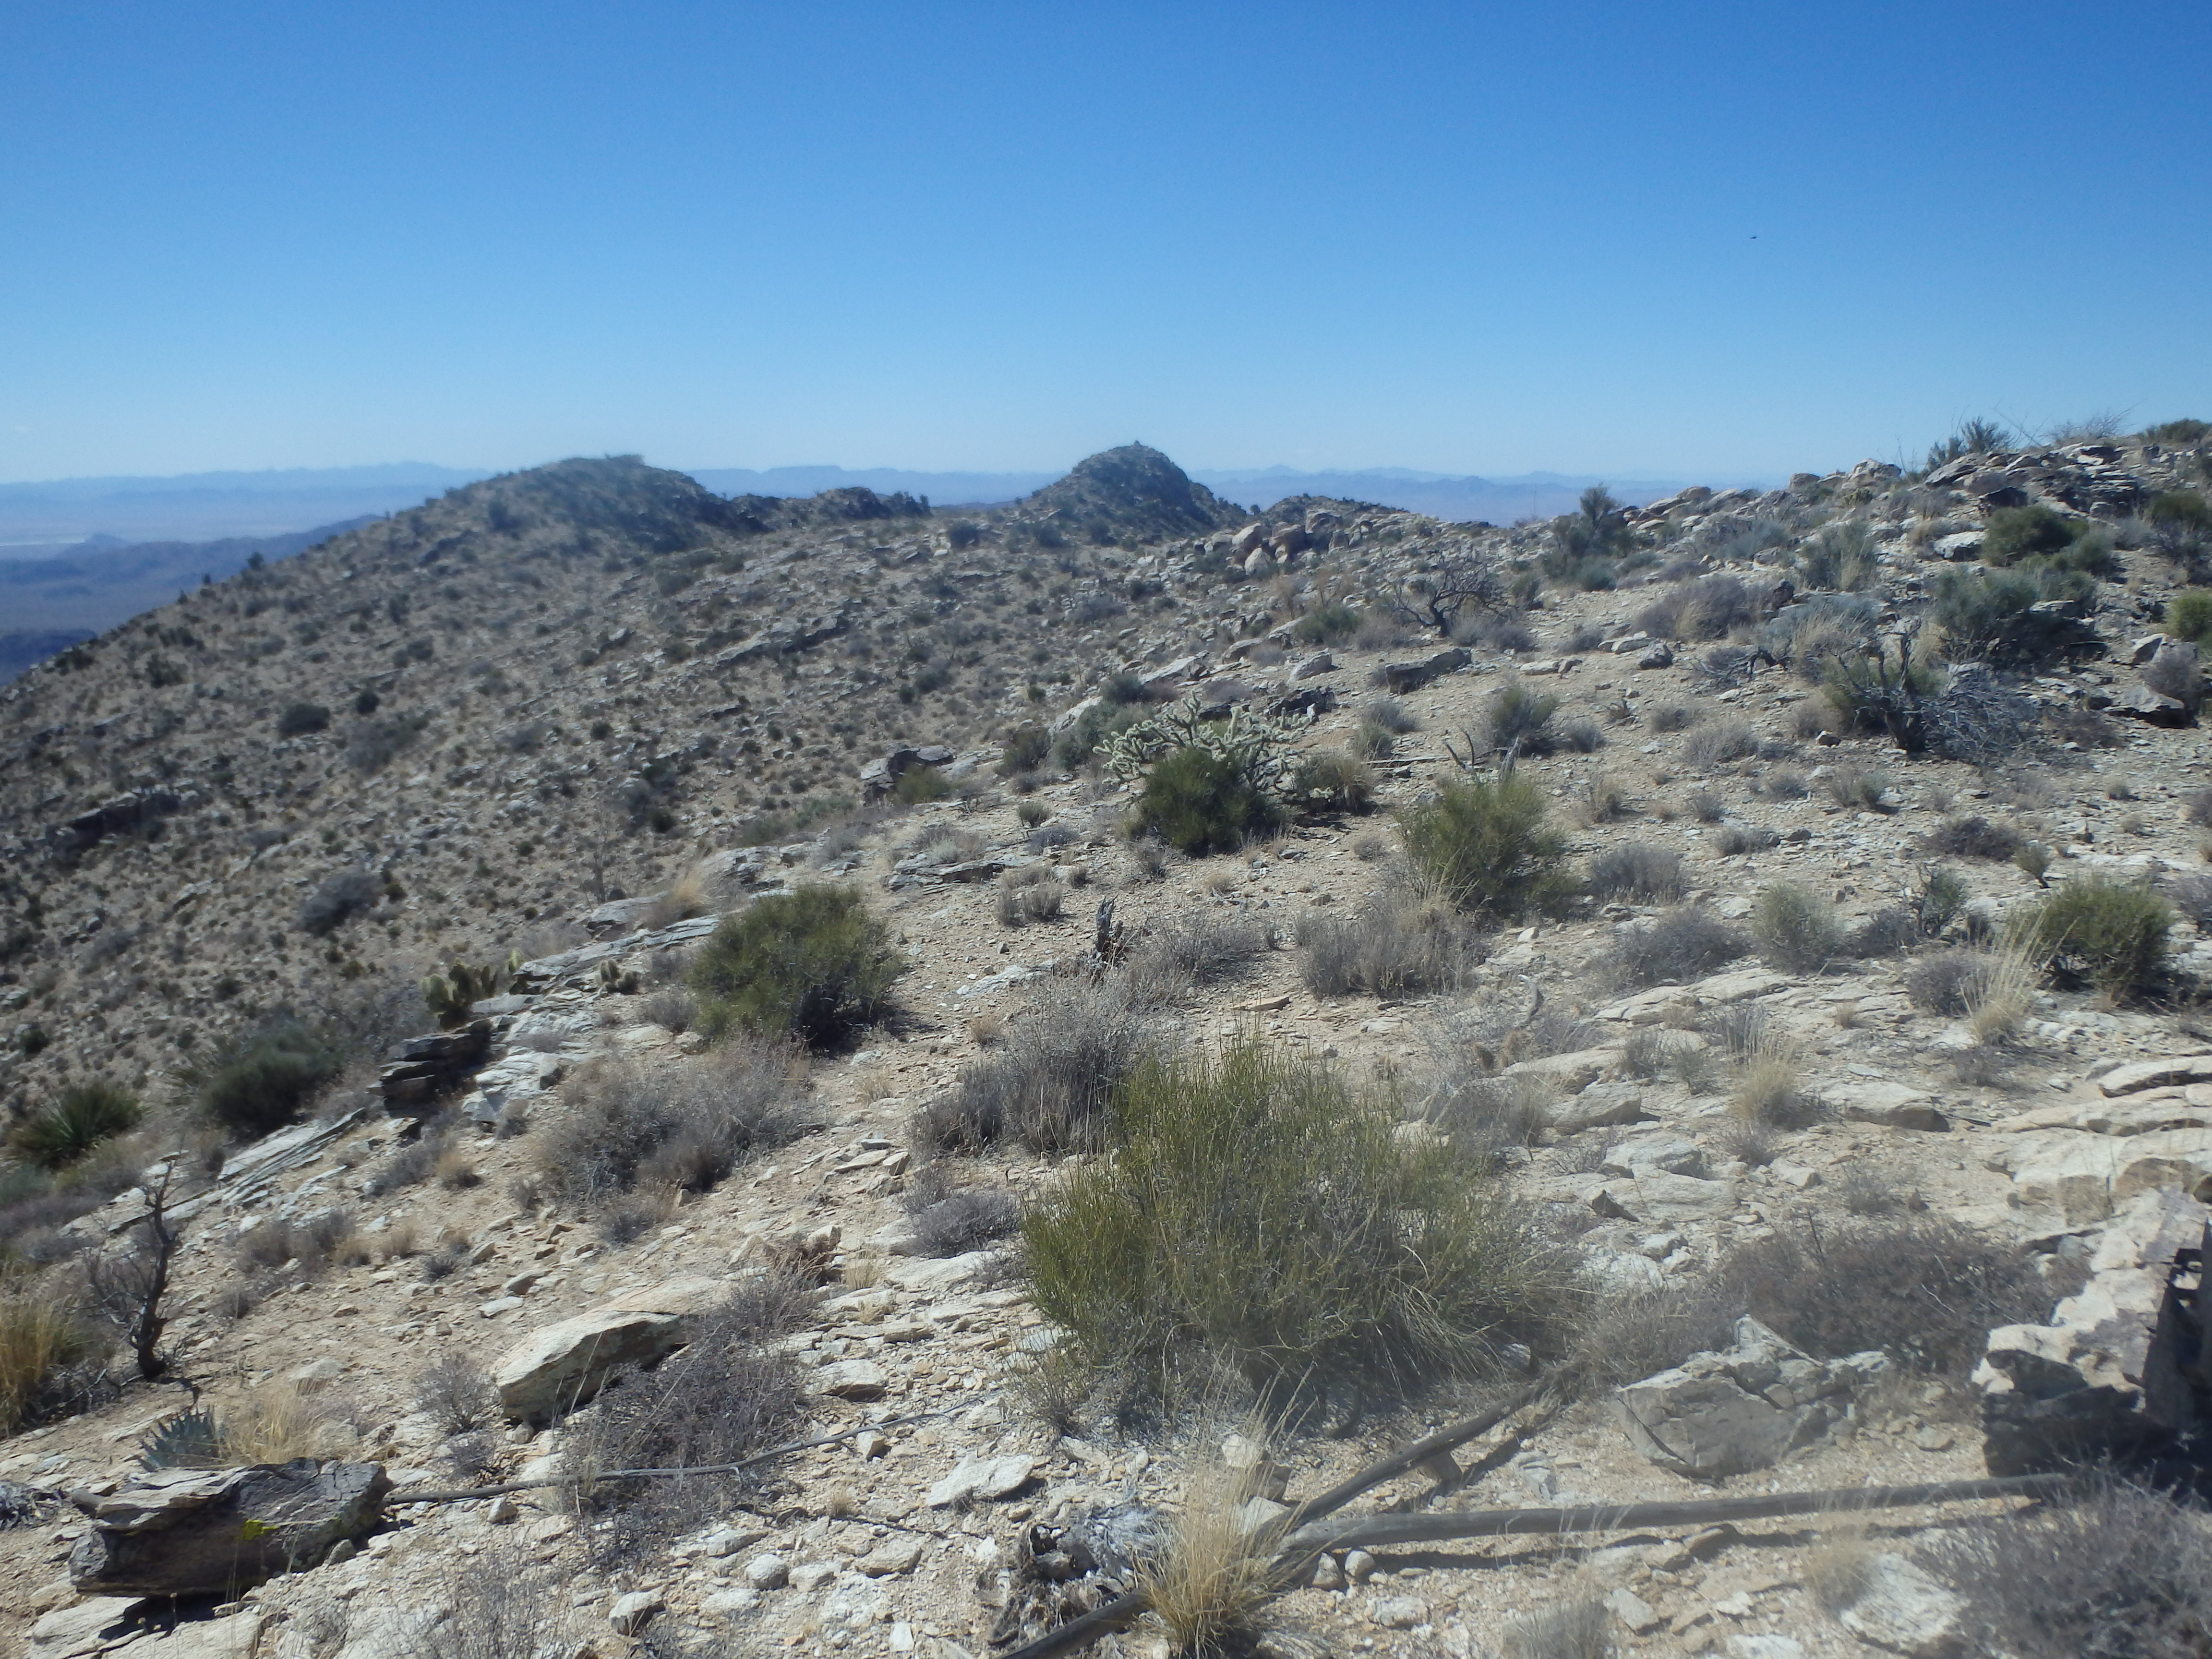
Despite this ridgeline seeing little if any traffic (unclear if this route was a first ascent) the rock was incredibly solid and I never had large rocks shifting beneath or holds breaking as I rambled along. Eventually the scrambling came to an end and I topped up on the ridgeline as the grade was beginning to lesson. I was a bit surprised to see how far off I was from the actual highpoint when reaching the high ridgeline, the true summit about a half mile away.
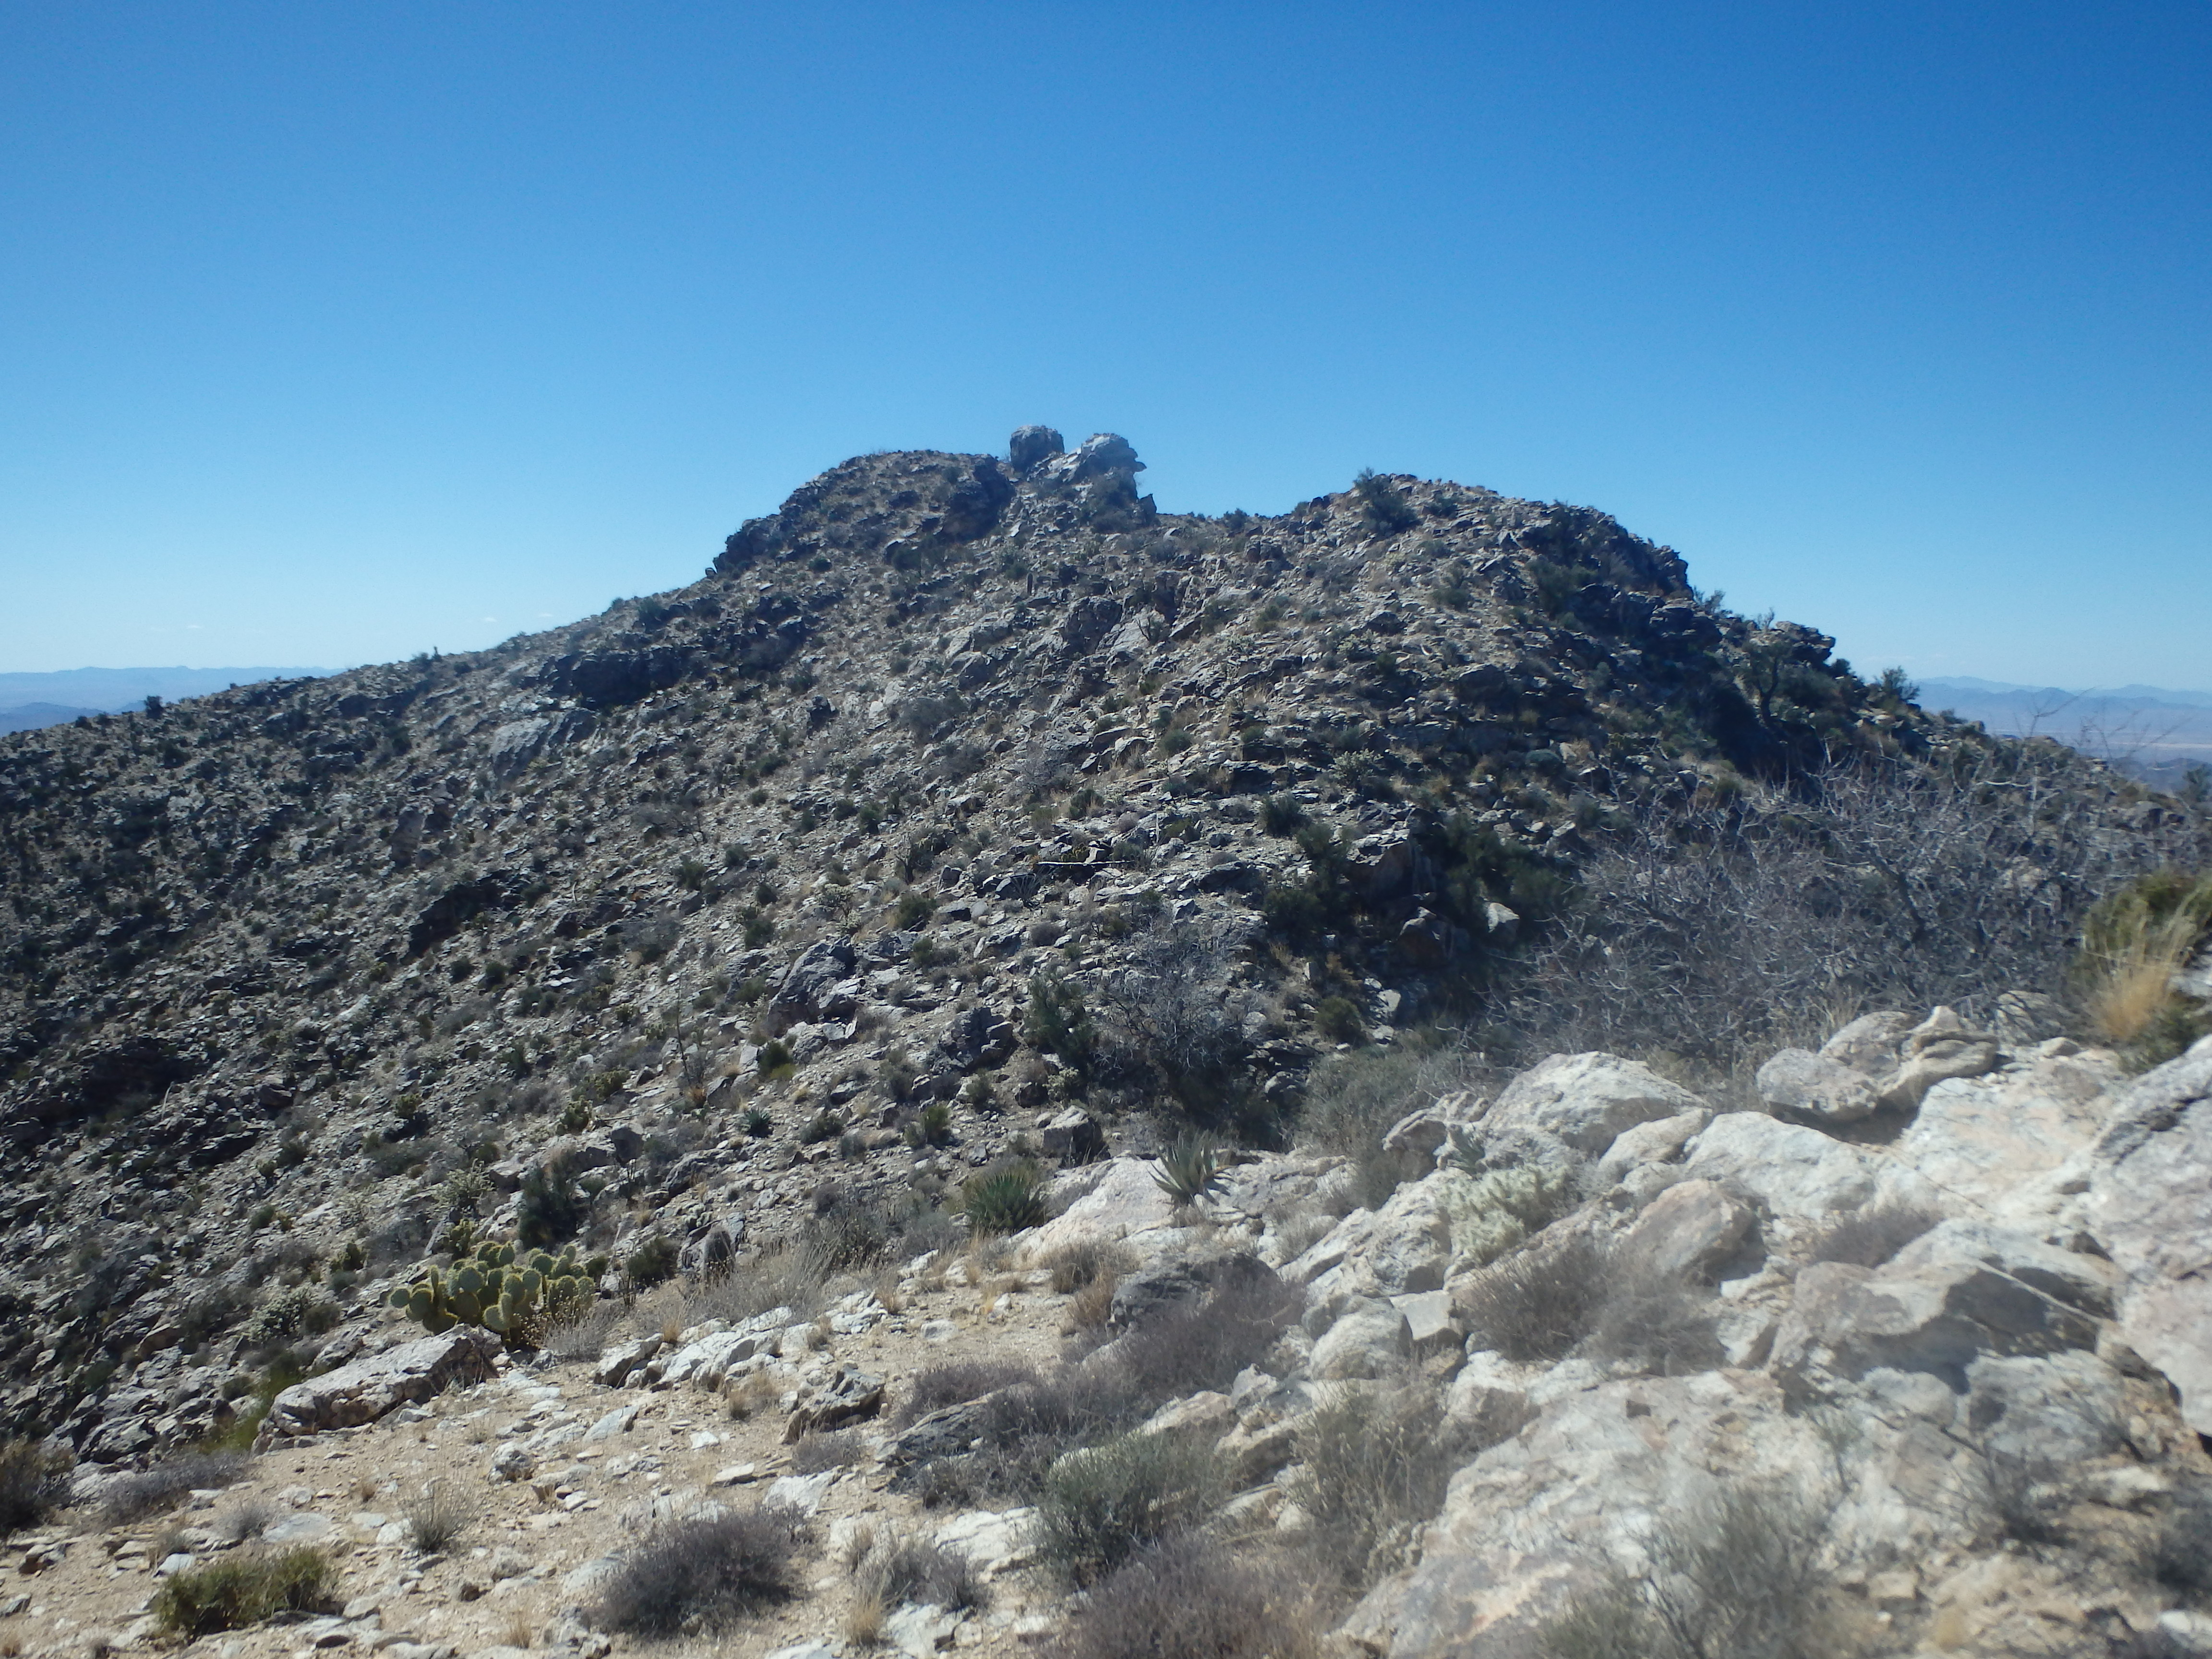
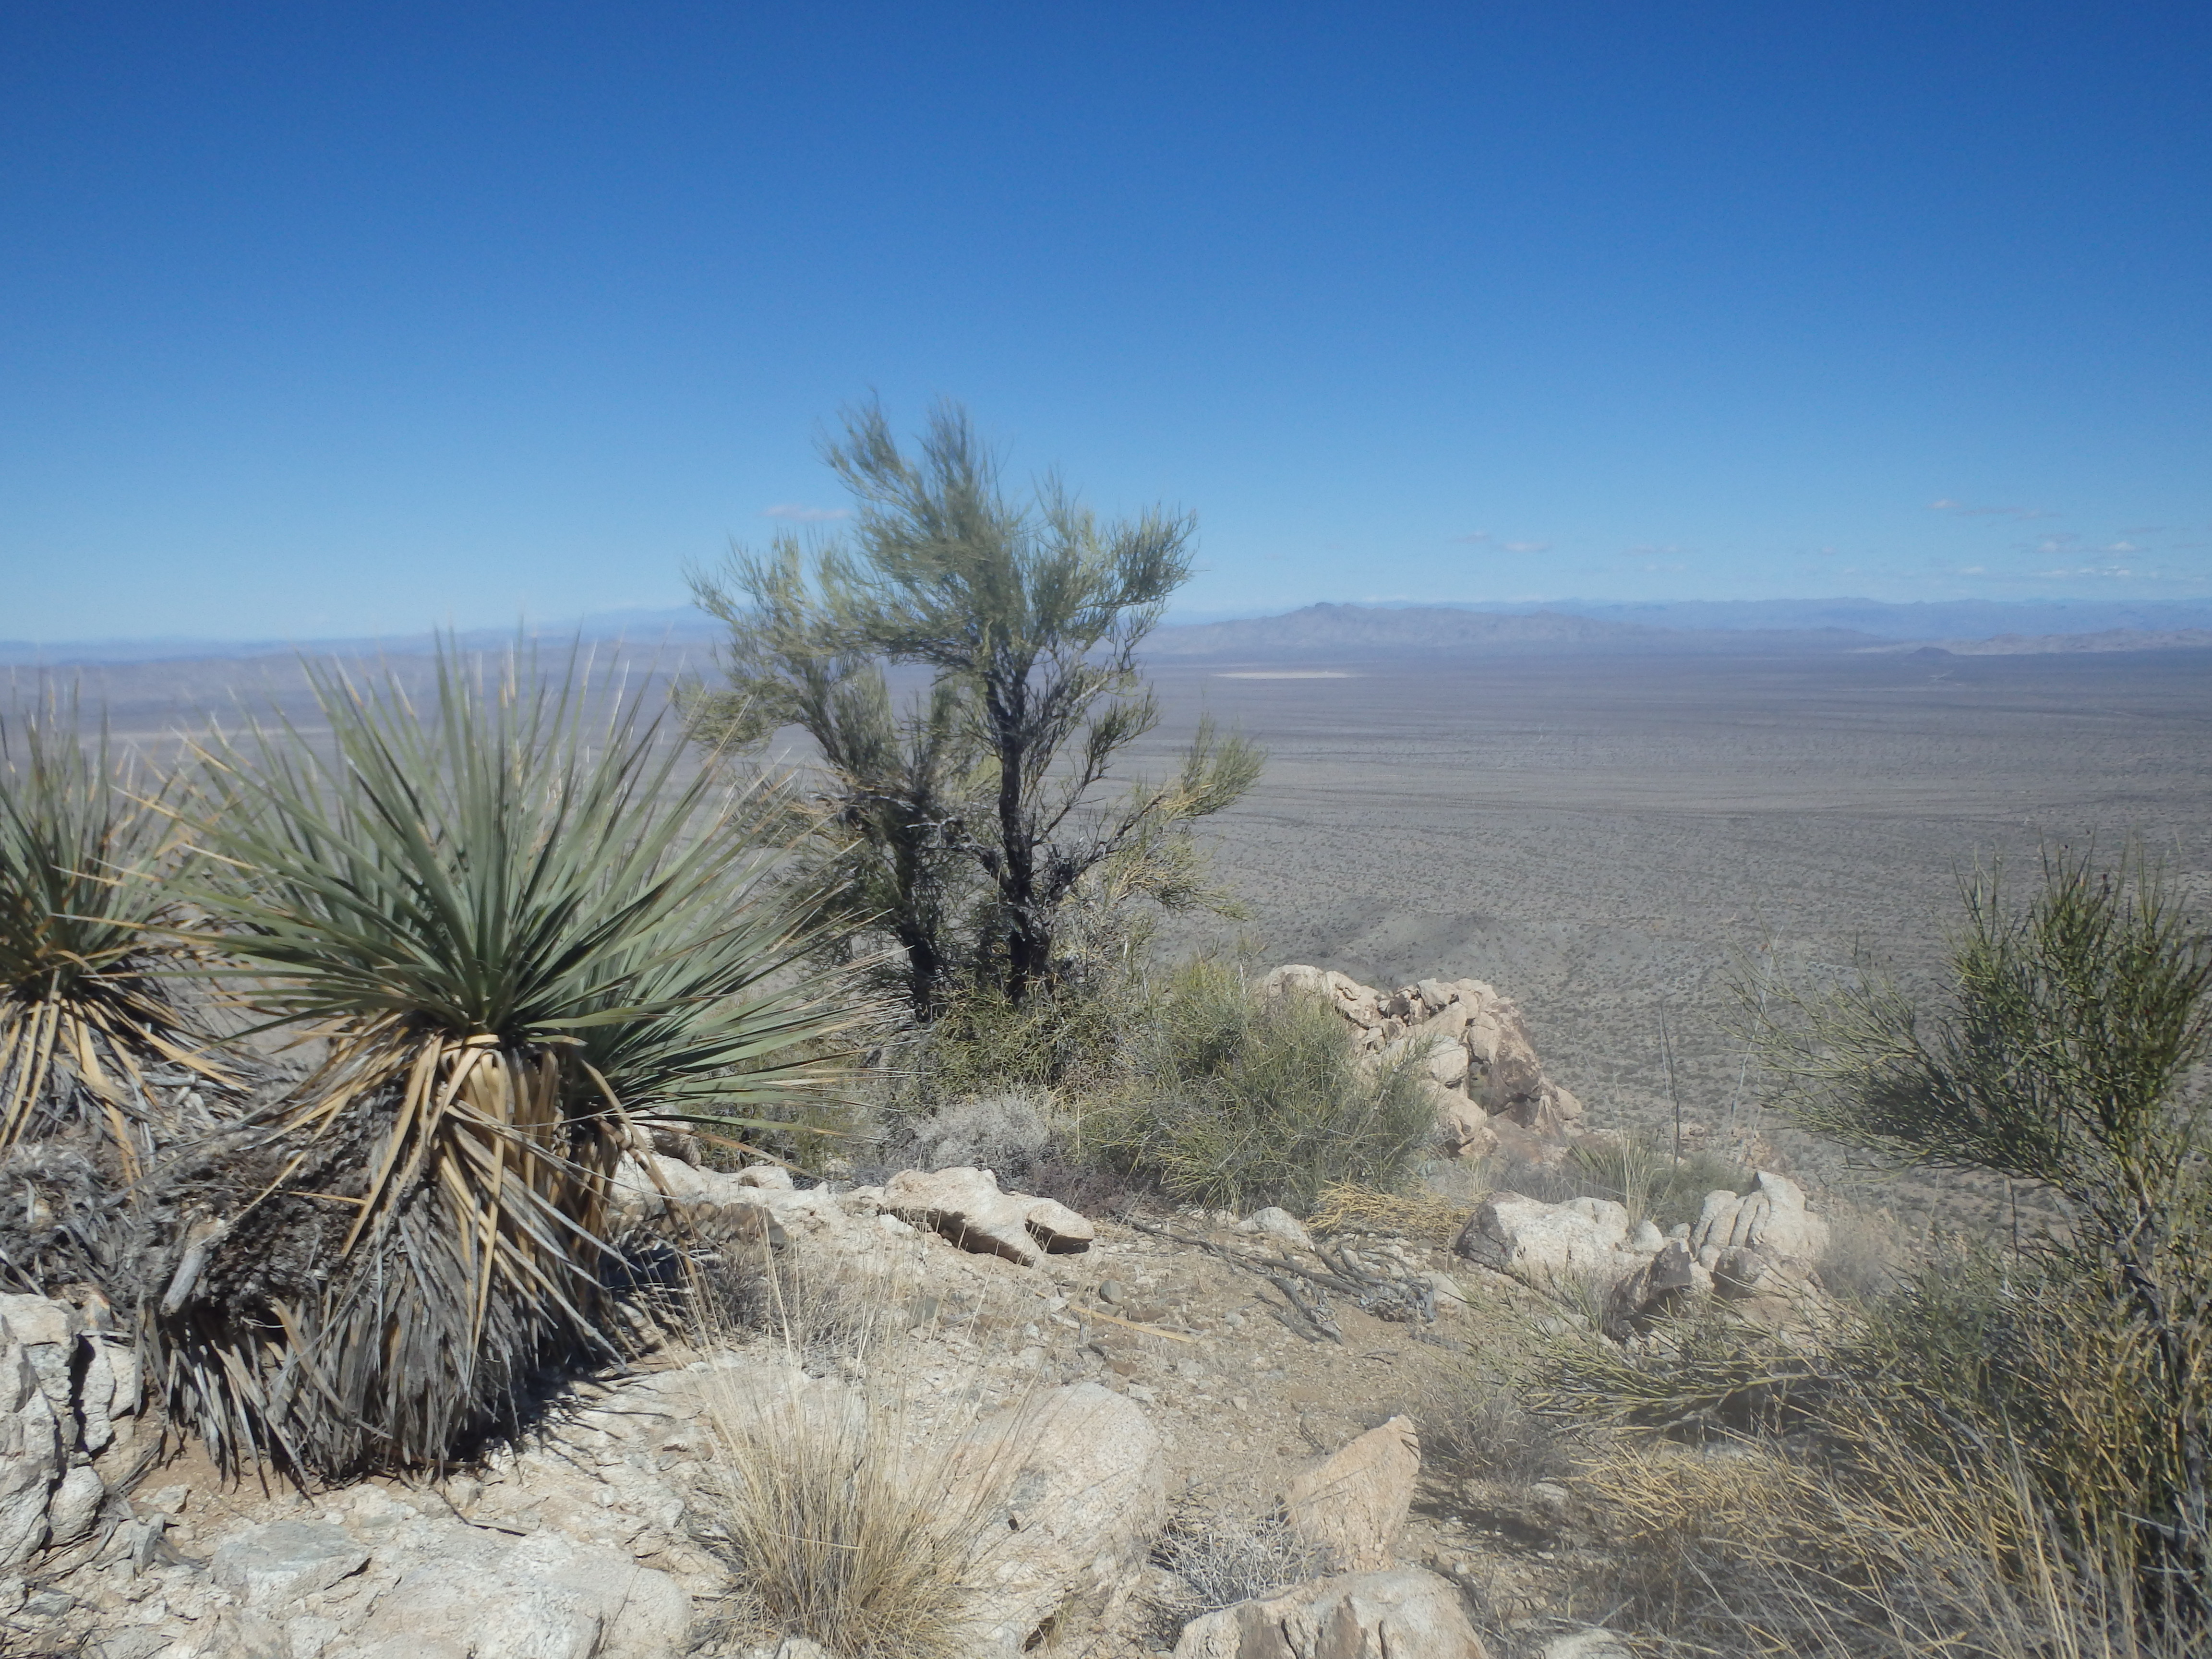
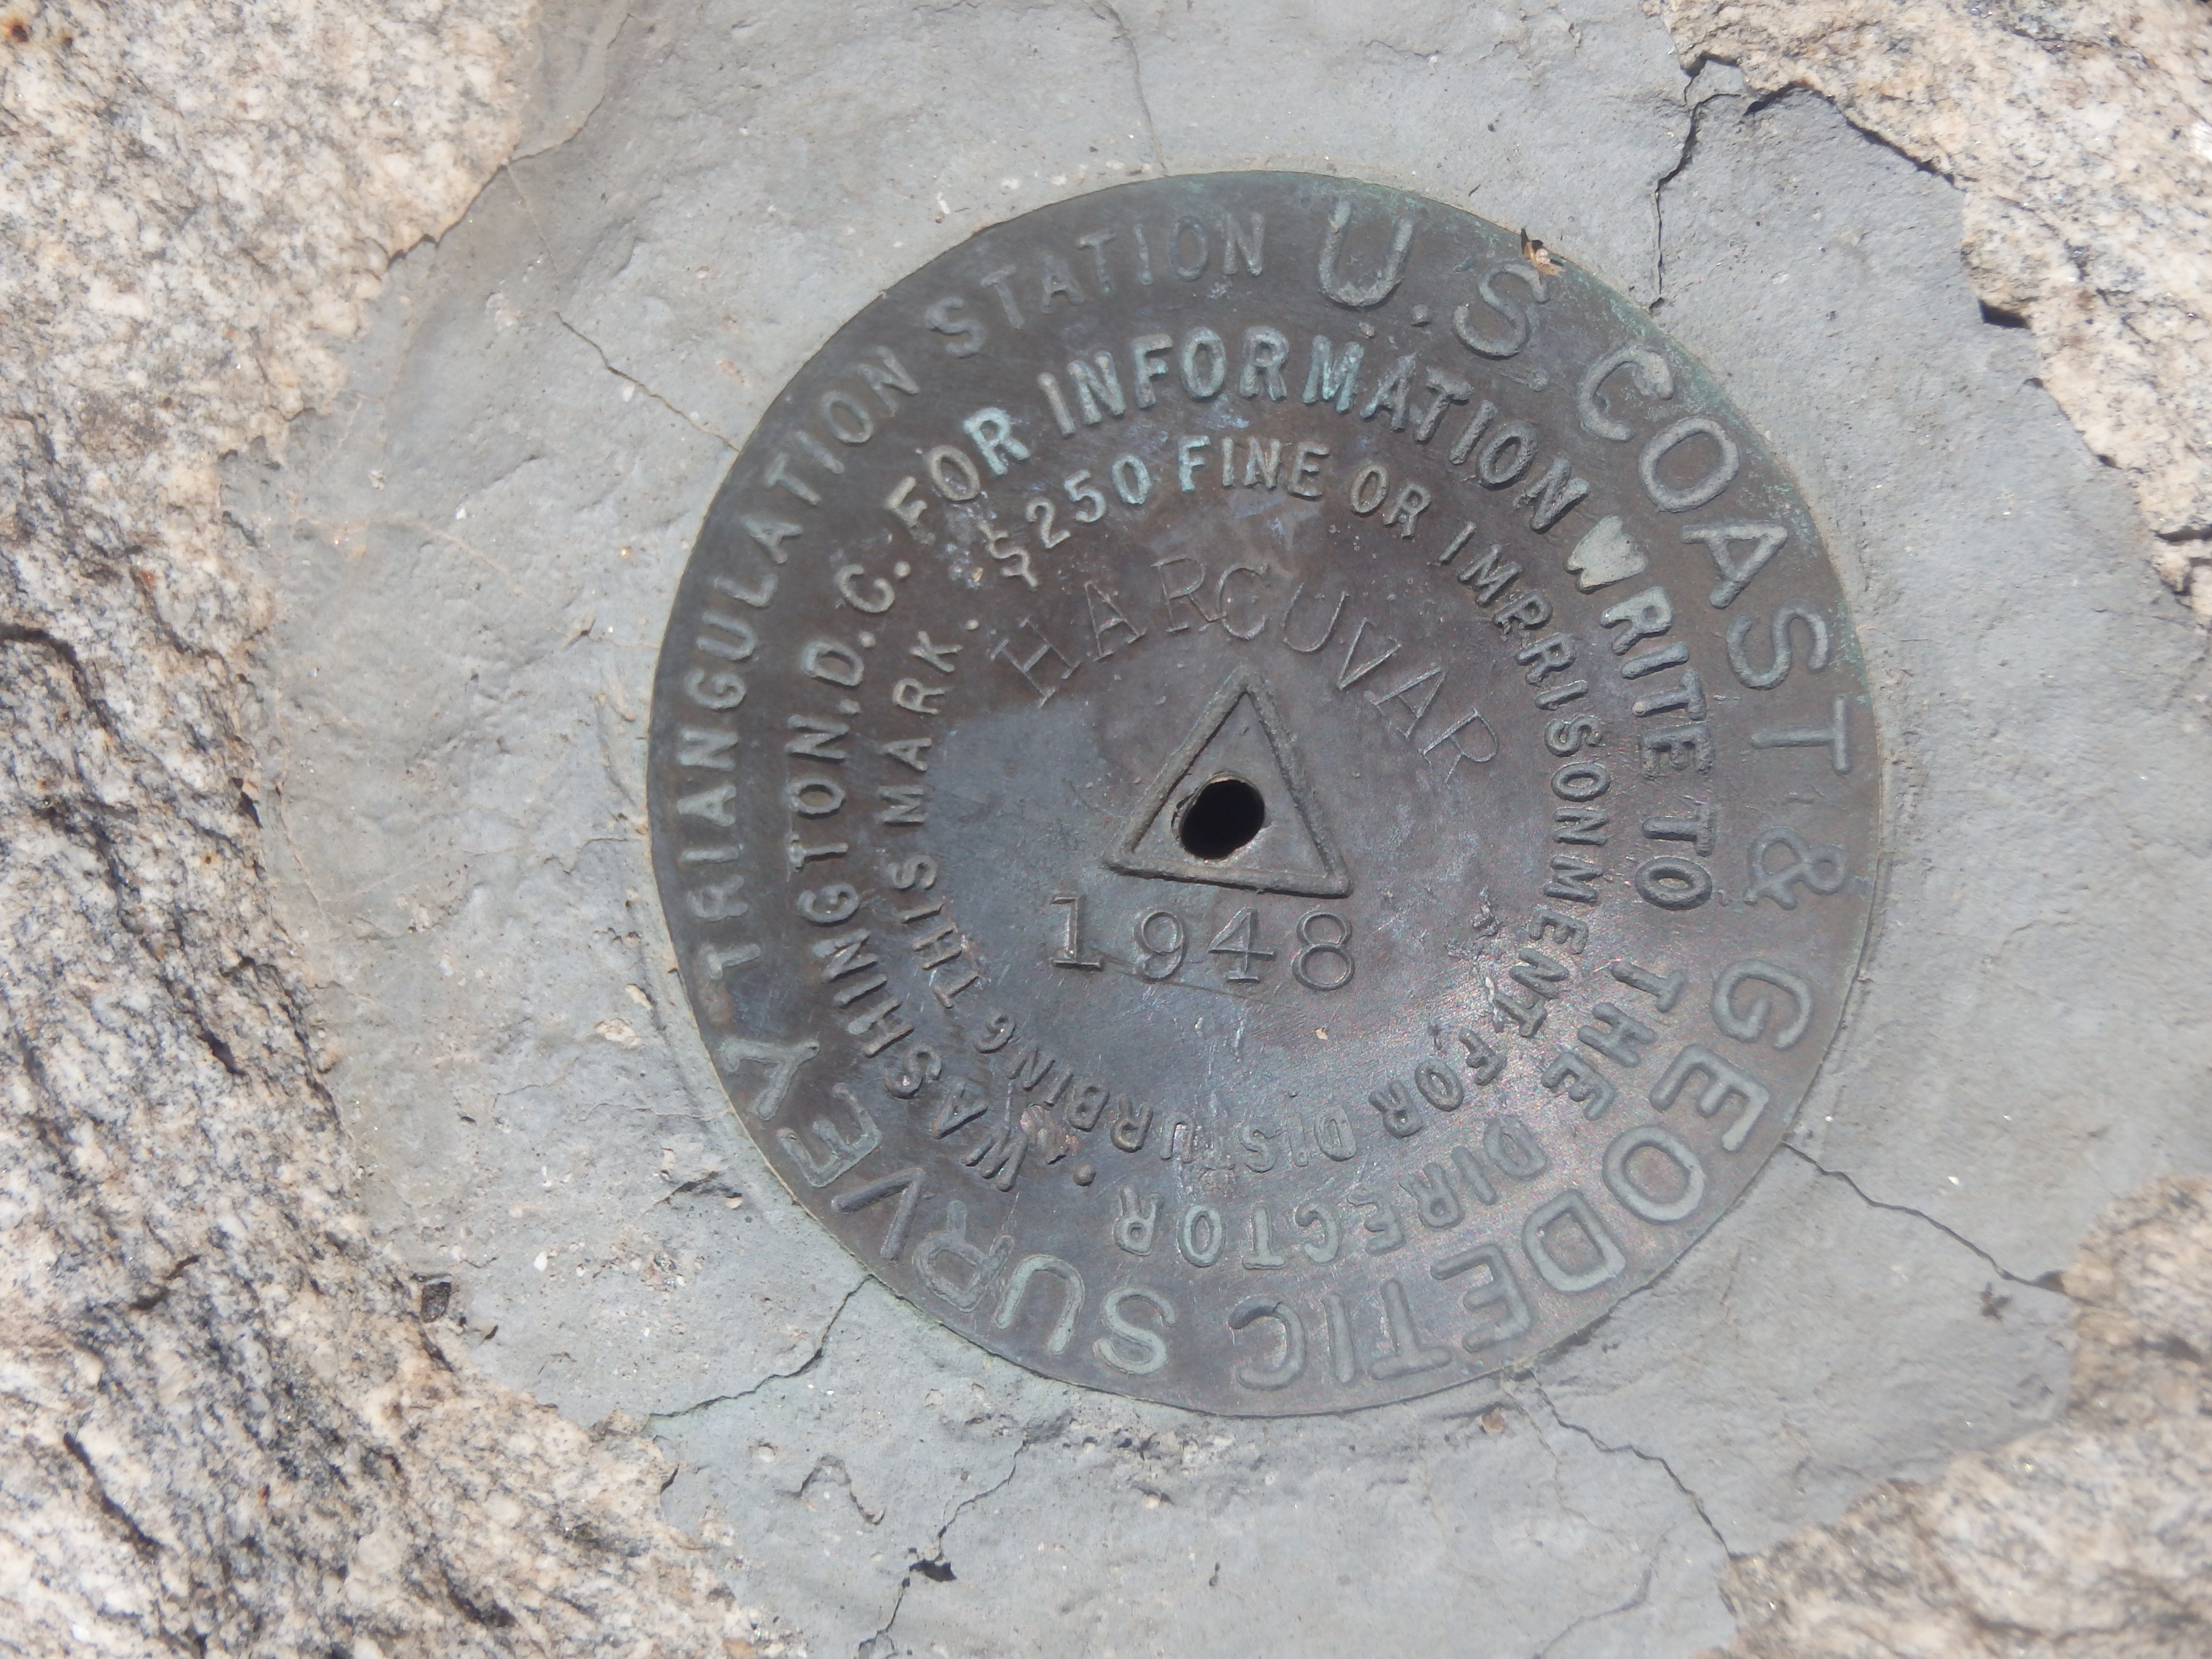
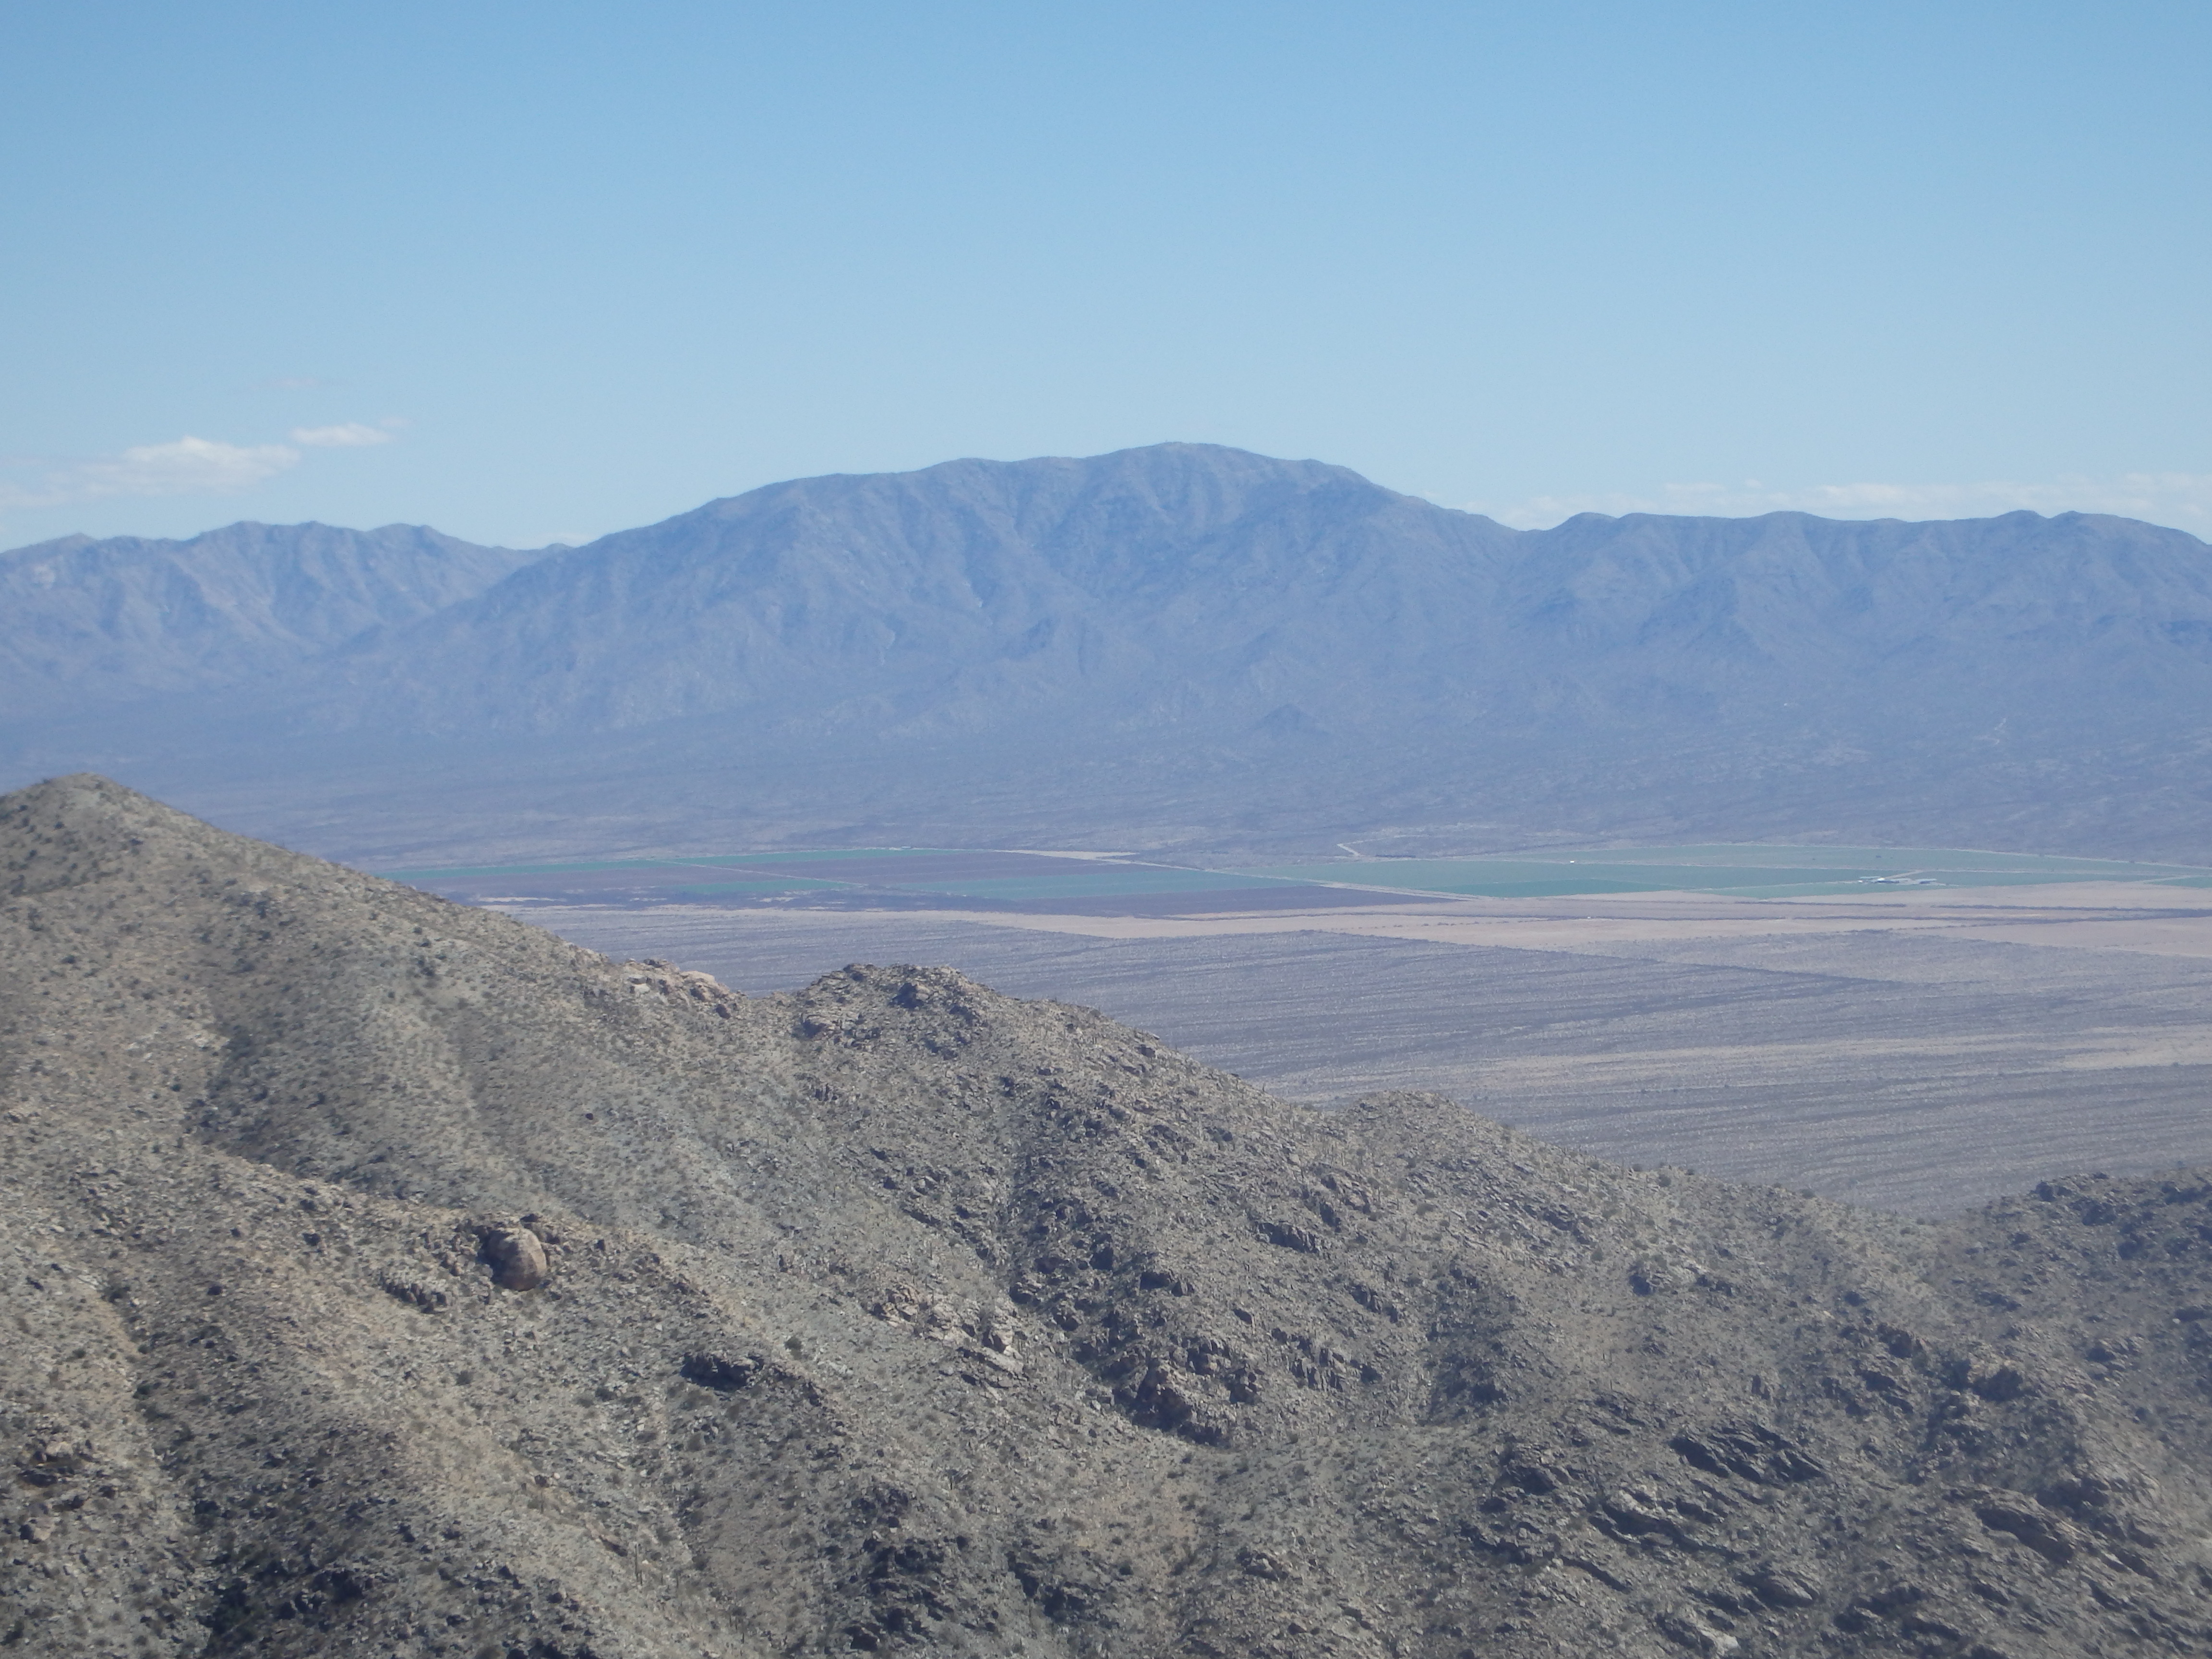
I traversed along with a little opportunity for scrambling but mostly hiking to finish. Crossing over the eastern summit, I signed in the register, mostly a handful of pages debating which of the two peaks is highest. I then continued the final quarter mile to the accepted high point and sat down behind the large summit cairn out of the wind. I still had not taken the time to learn the peaks to the North since climbing Smith Peak, with Hualalapai and Mohon somewhere in the distance. Harquahala dominated the view to the south and east, with the Kofa Mountains and Signal Peak looking fairly close to the southwest.
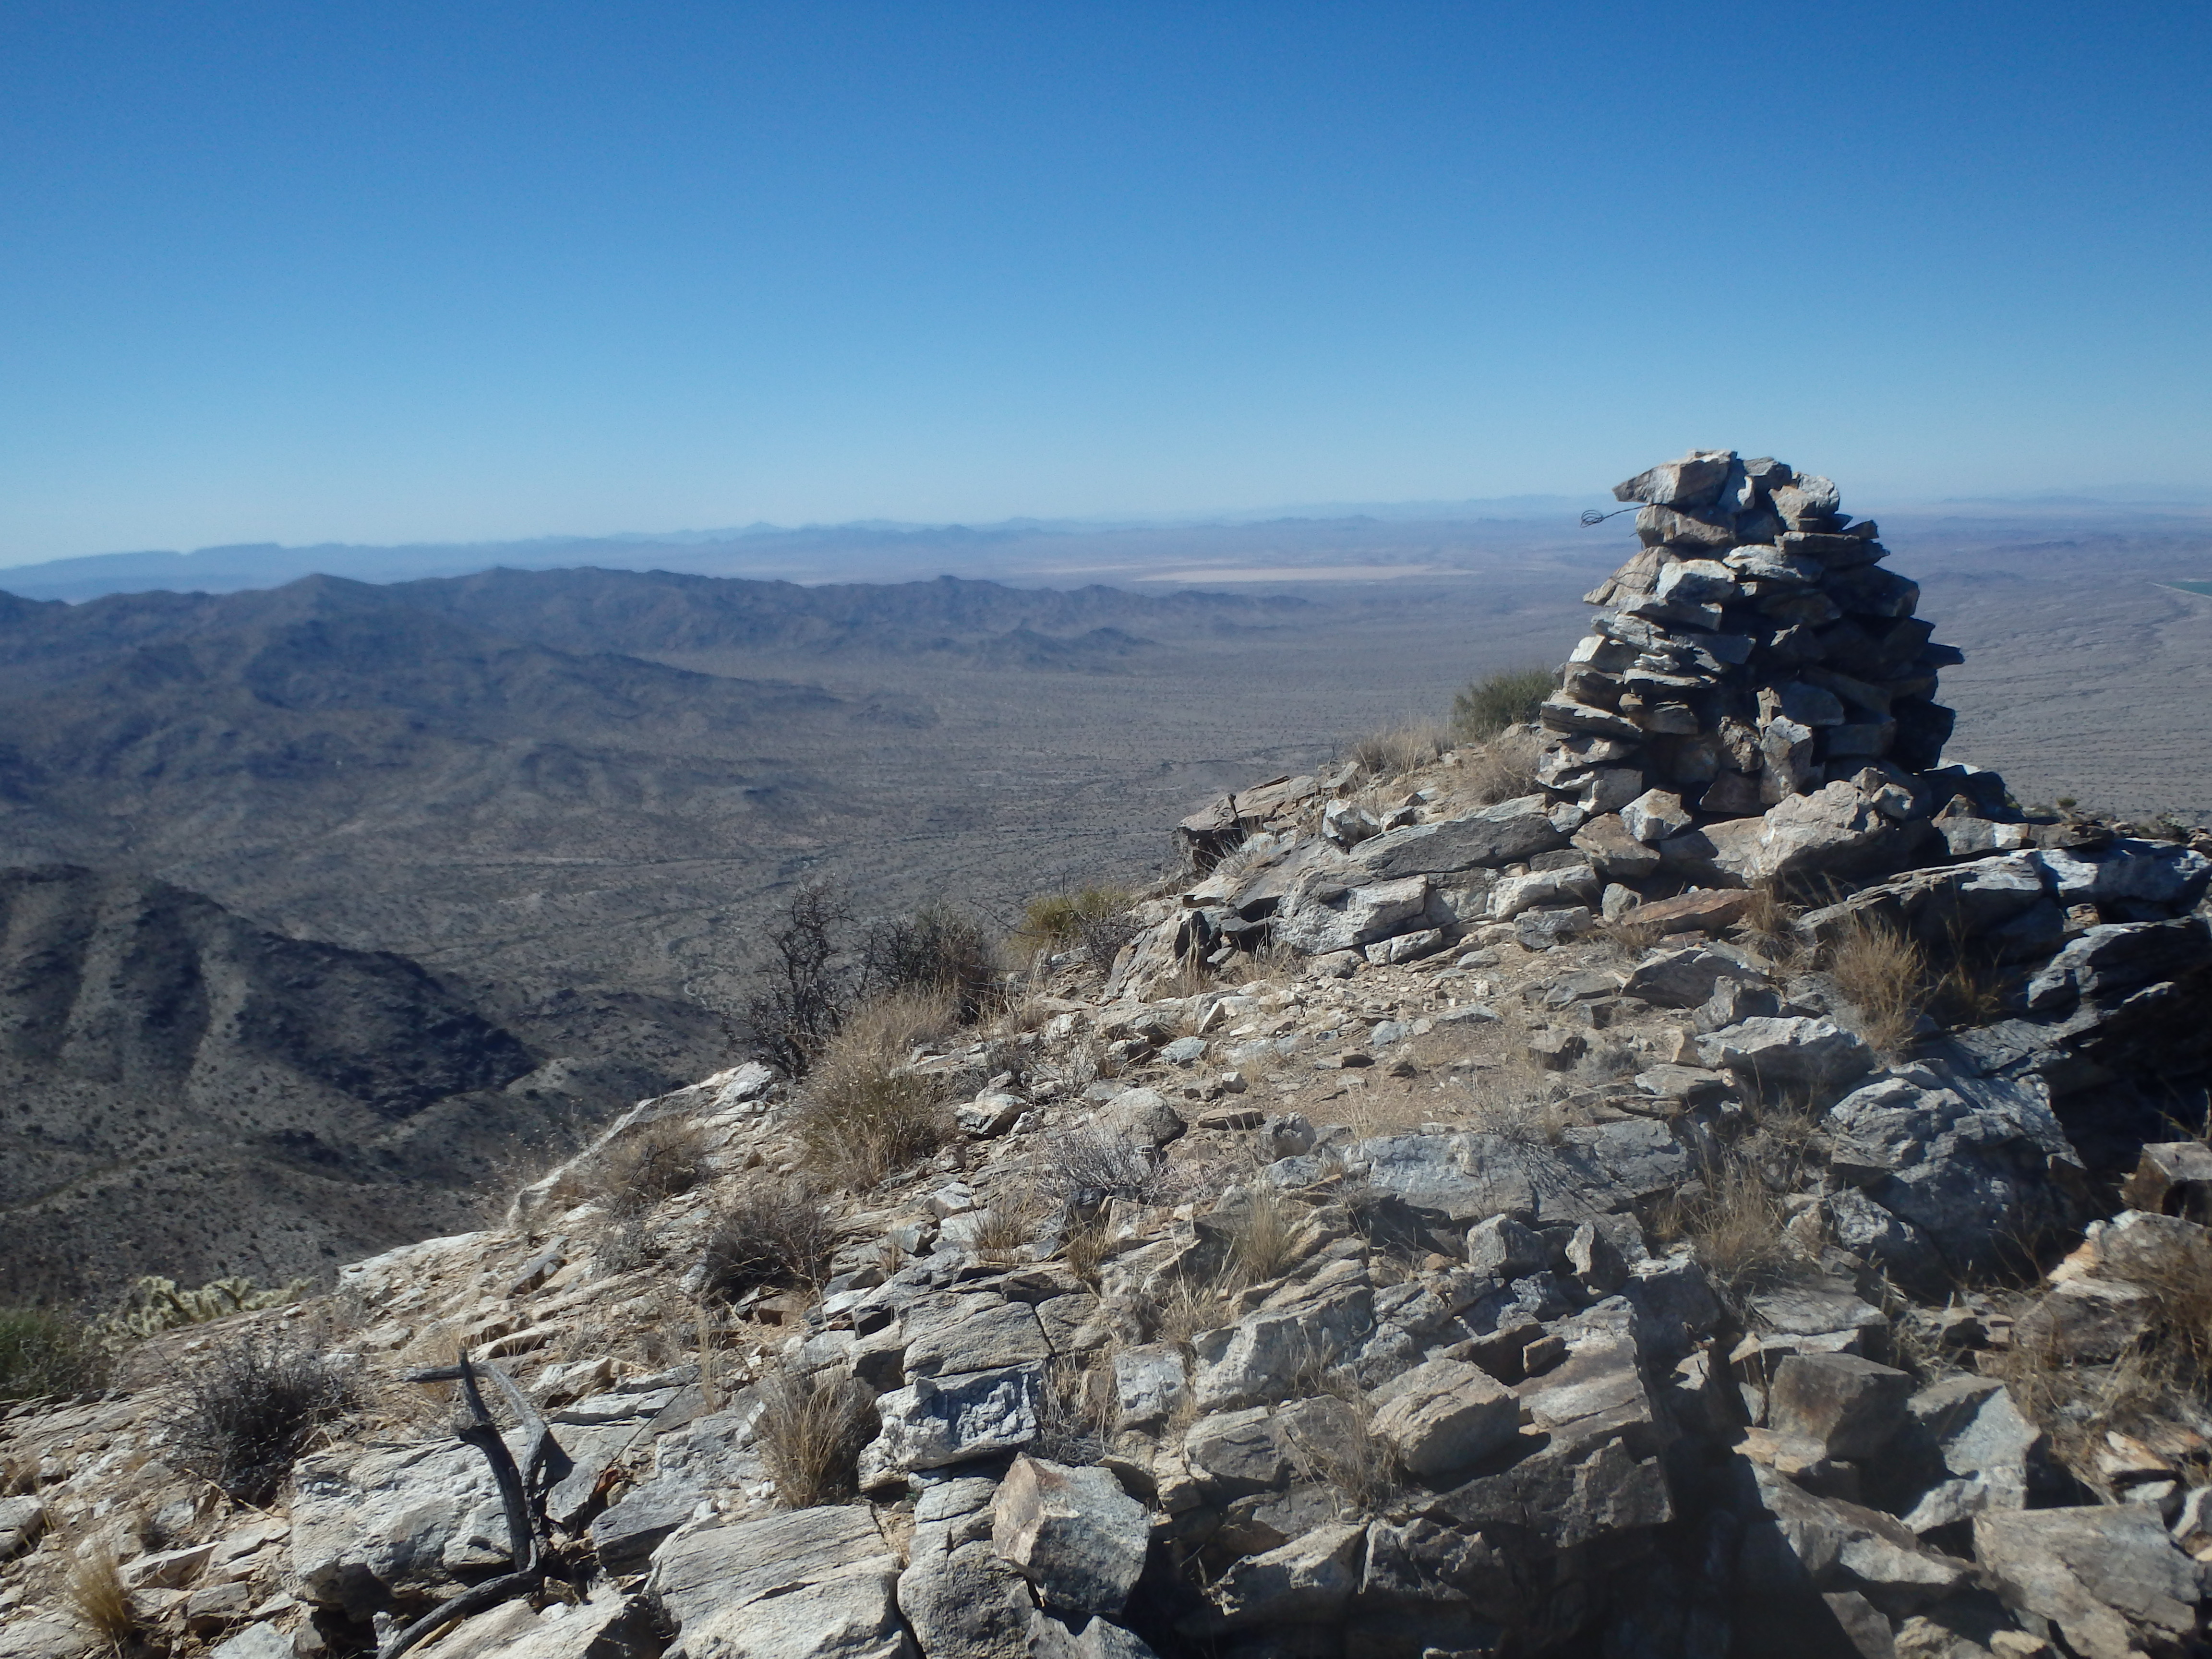

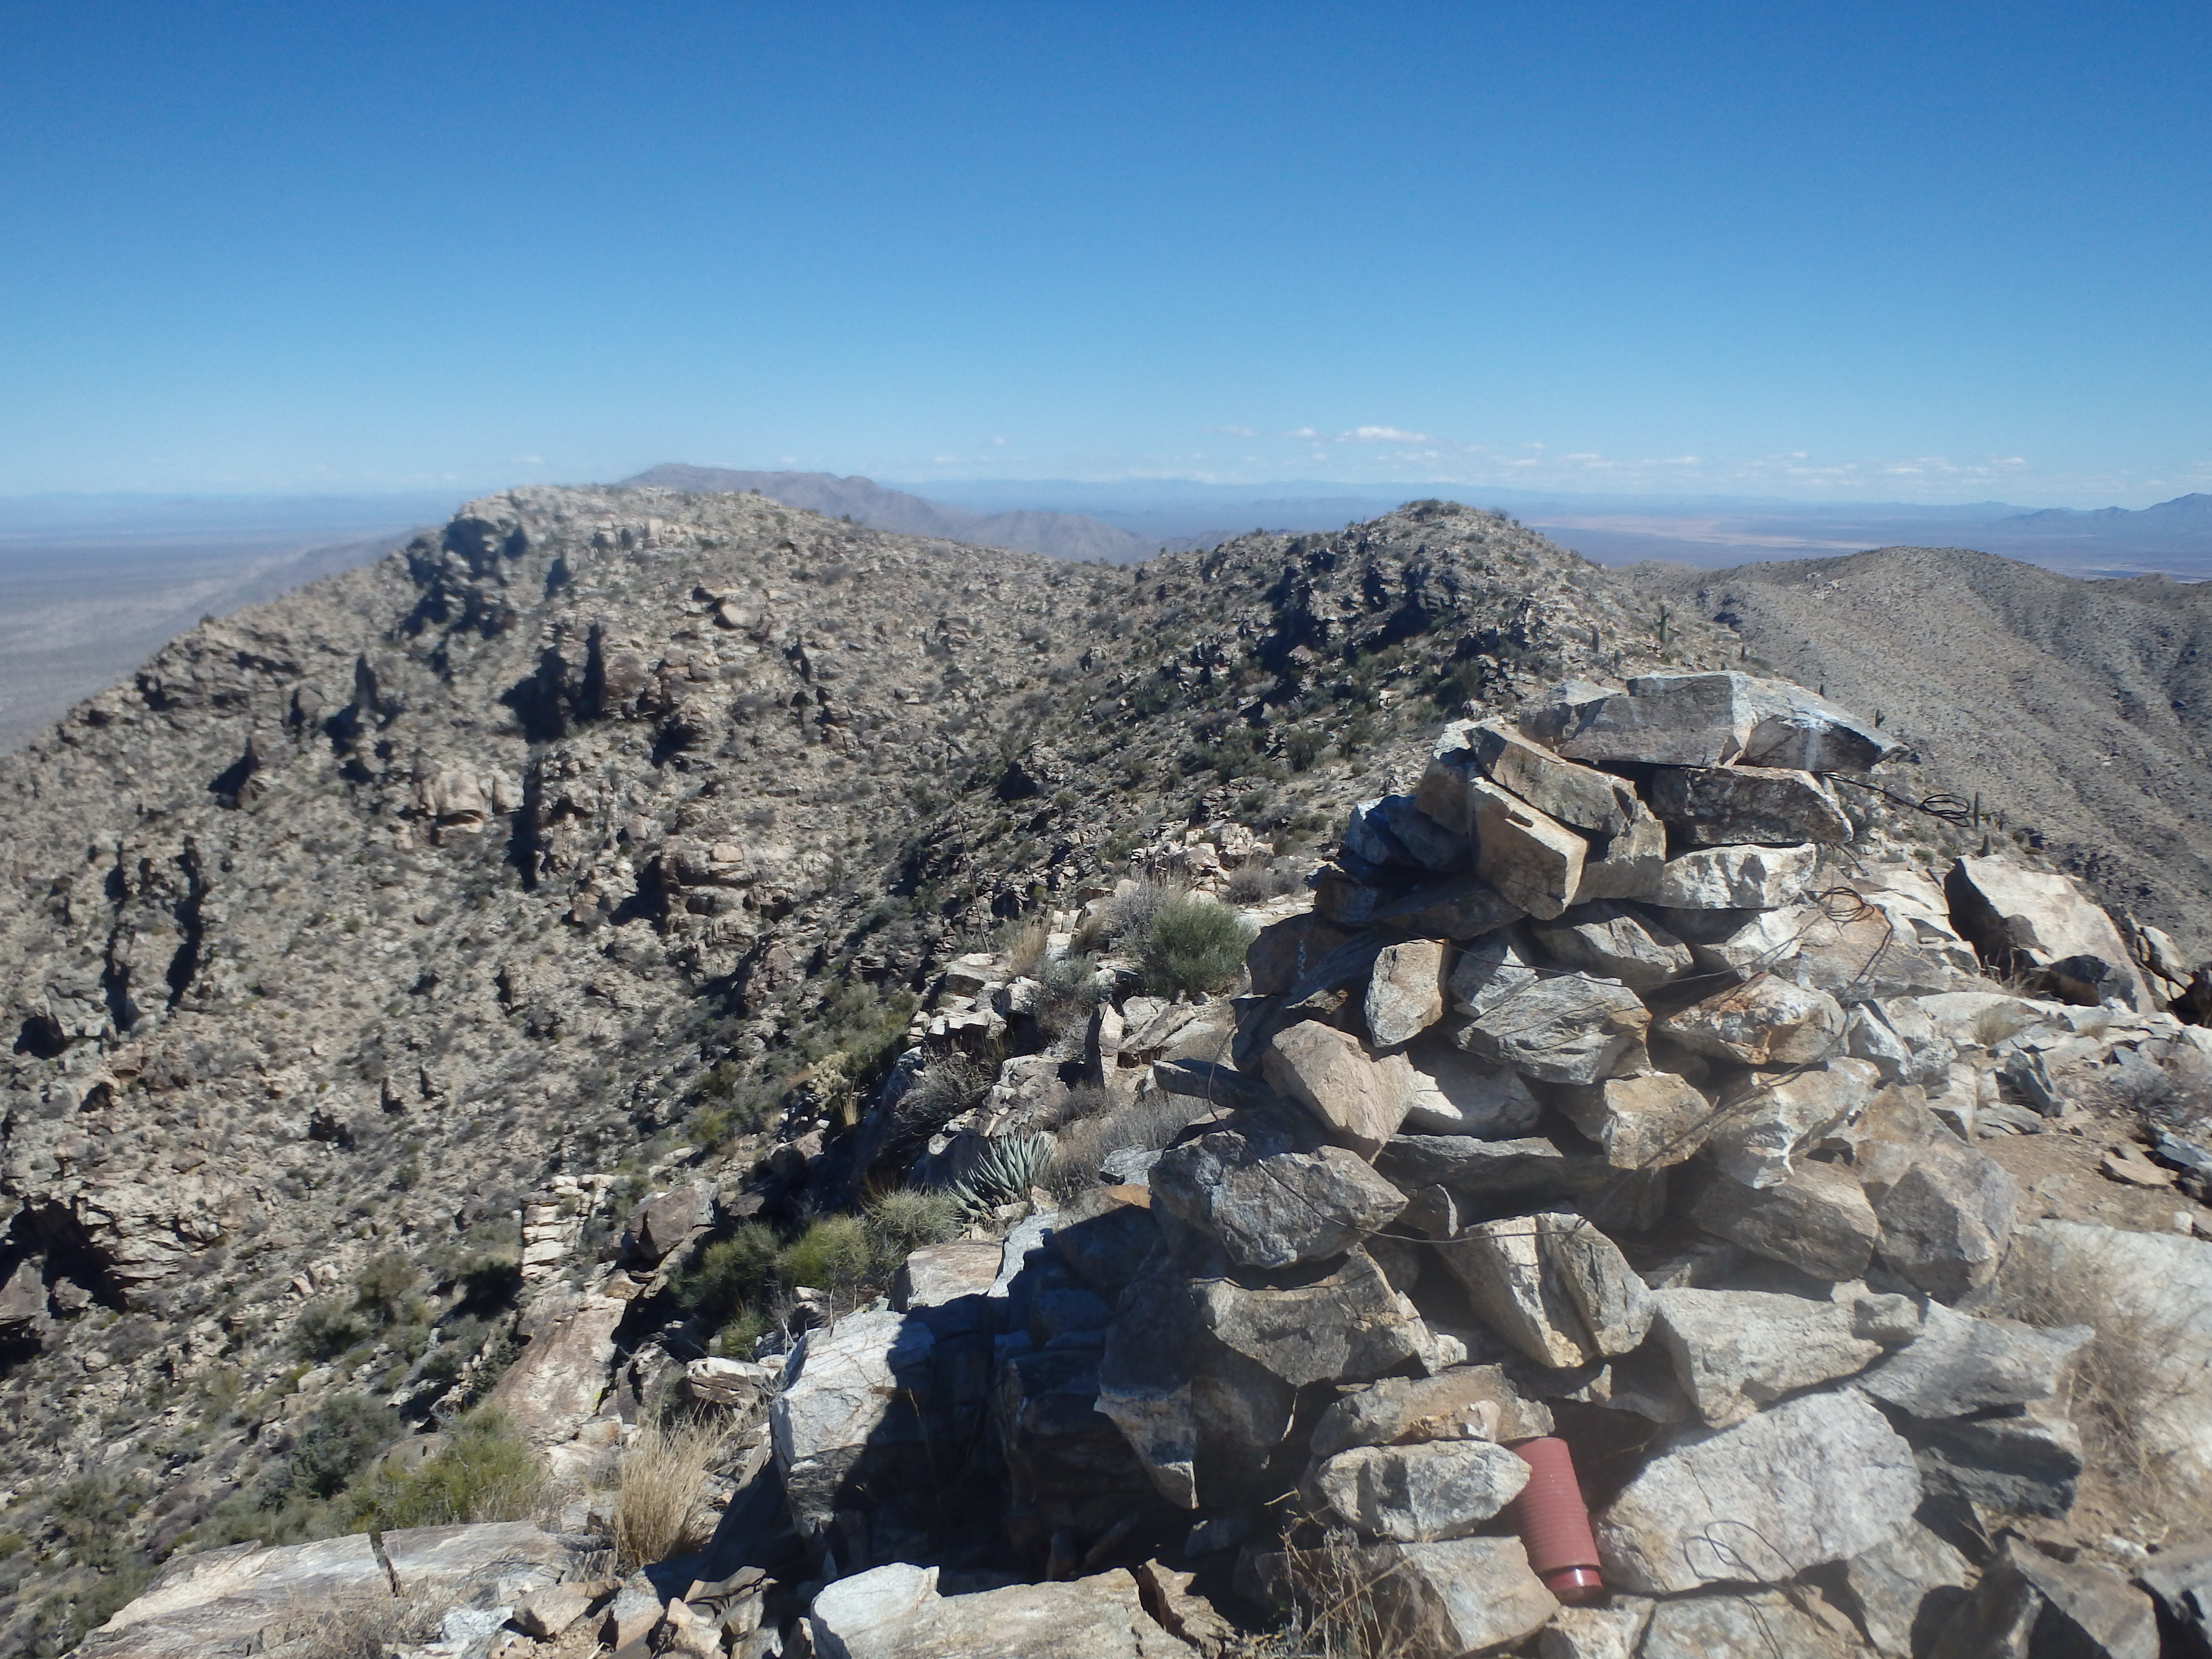
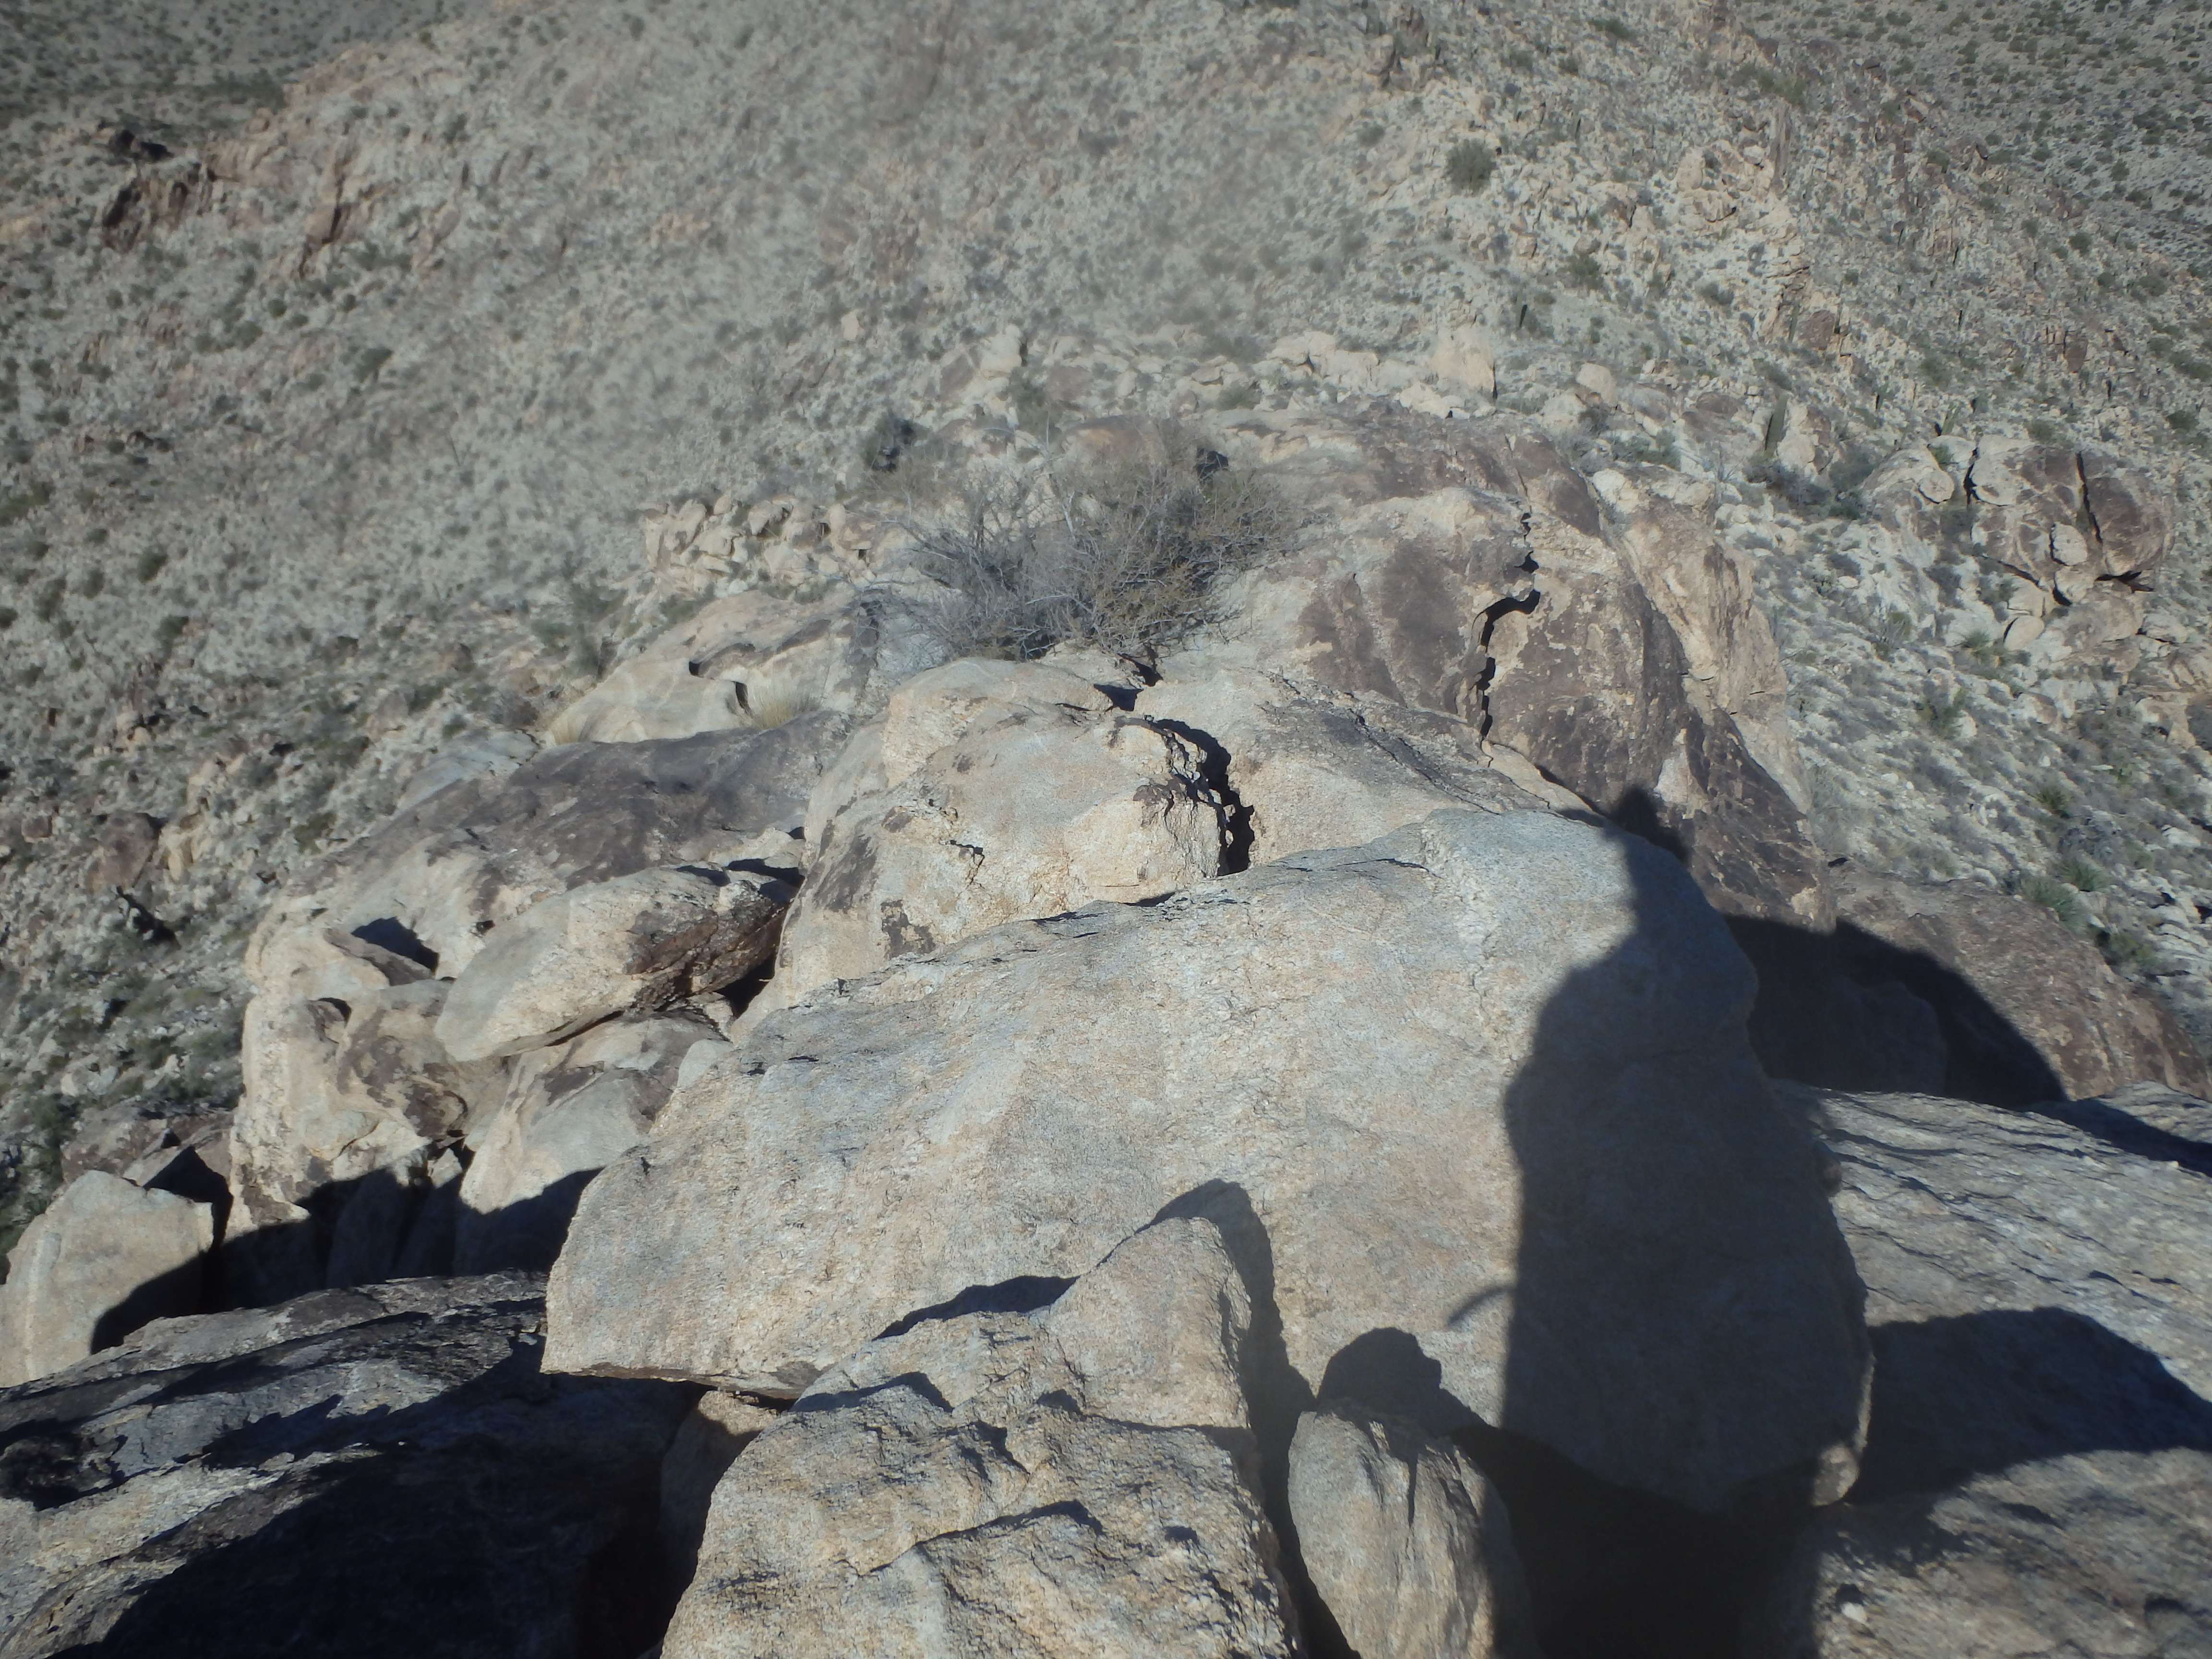
I took a short lunch and shot a few pictures, the wind just a bit too strong to linger for too long. After making quick work of the high ridgeline, I started back down the northeast ridgeline, trying to stay even more true to the ridgeline itself on the descent. I found an easier but still class 3 line through the upper cliff band on the descent and continued down to the largest rock feature on the ridgeline that I had skipped on the ascent. I should mention it would be possible to keep the entire ridge class 2 by traversing low, but probably more loose and dangerous. I decided to go for it and scrambled up an easy crack to the top of the feature. Halfway across was a short 2′ gap deep enough to give me pause. Leaping across before I could overthink it, I dropped down off the north face of the rock utilizing a knobby slab back down to the base. The rest of the scrambling to the bottom was mostly small, easy moves over rocky piles, and soon all the clean rock was behind me as I dropped towards the basin.
I took a more direct line off the ridgeline heading towards my car, probably preferred since it avoids crossing the deepest wash near the dry waterfall. Beyond that, it was a few more easy wash crossings to get me back to my vehicle. The ride back to pavement went well, and I would recommend this route to anyone looking to add Harcuvar to their AZ P2K collection, particularly since the access roads are passable by any vehicle with high clearance, and easy to follow compared to the now plowed southern access roads.
